I have no shame in saying that I actually hate carrying a purse. I know as a person who loves fashion, purses should be something I should enjoy accessorizing with, but on the contrary. Carrying a bag is such a nuisance that I rather just grab my wallet and stuff it in my jacket pocket.
However, as a woman, you cannot truly function without a purse. Unfortunately, it is a practical accessory. Thus, I only purchase purses when it is a necessity. I also only purchase purses that I know are long lasting, which ends up being the higher-end luxury brands. I have a purse that I bought over 10 years ago that still is beautiful and durable. And I invested top dollars for that but in the end it makes sense. I still use it today after 10 years, rather than buying a new bag every season at $50-$100, I just invested a few hundred for a quality purse. But then again, some ladies like to switch it up. But for me, I have a good six bags that are each used for different occasions.
Nonetheless, I was in the market for a new bag and thought I would buy myself a real nice purse for my birthday. But something about buying a $2,000 bag without reaching my goals didn’t sit well. Unfortunately for me, I have specific visions of what I am looking for so searching becomes that much harder. And then I thought, “how hard is it to make your own purse?”
I don’t wear fur and I don’t go out of my way to purchase leather goods. However, because I was going to invest in a bag that was probably going to be leather and ridiculously expensive, I thought I should look into purchasing leather scraps. As bad as it is, the animal already sacrificed themselves for the leather. I figured I would be honoring the cow by using all of it’s remnants. That’s how I justify it.
I contacted a store on Etsy and that is where I got my leather from. For more information, contact me at sabrina@sabrinadiana.com.
Let’s start buy the materials and tools you will need;
- Leather scraps (about 1 lb.)
- Lining material
- Sewing machine
- Scissors
- A good eye
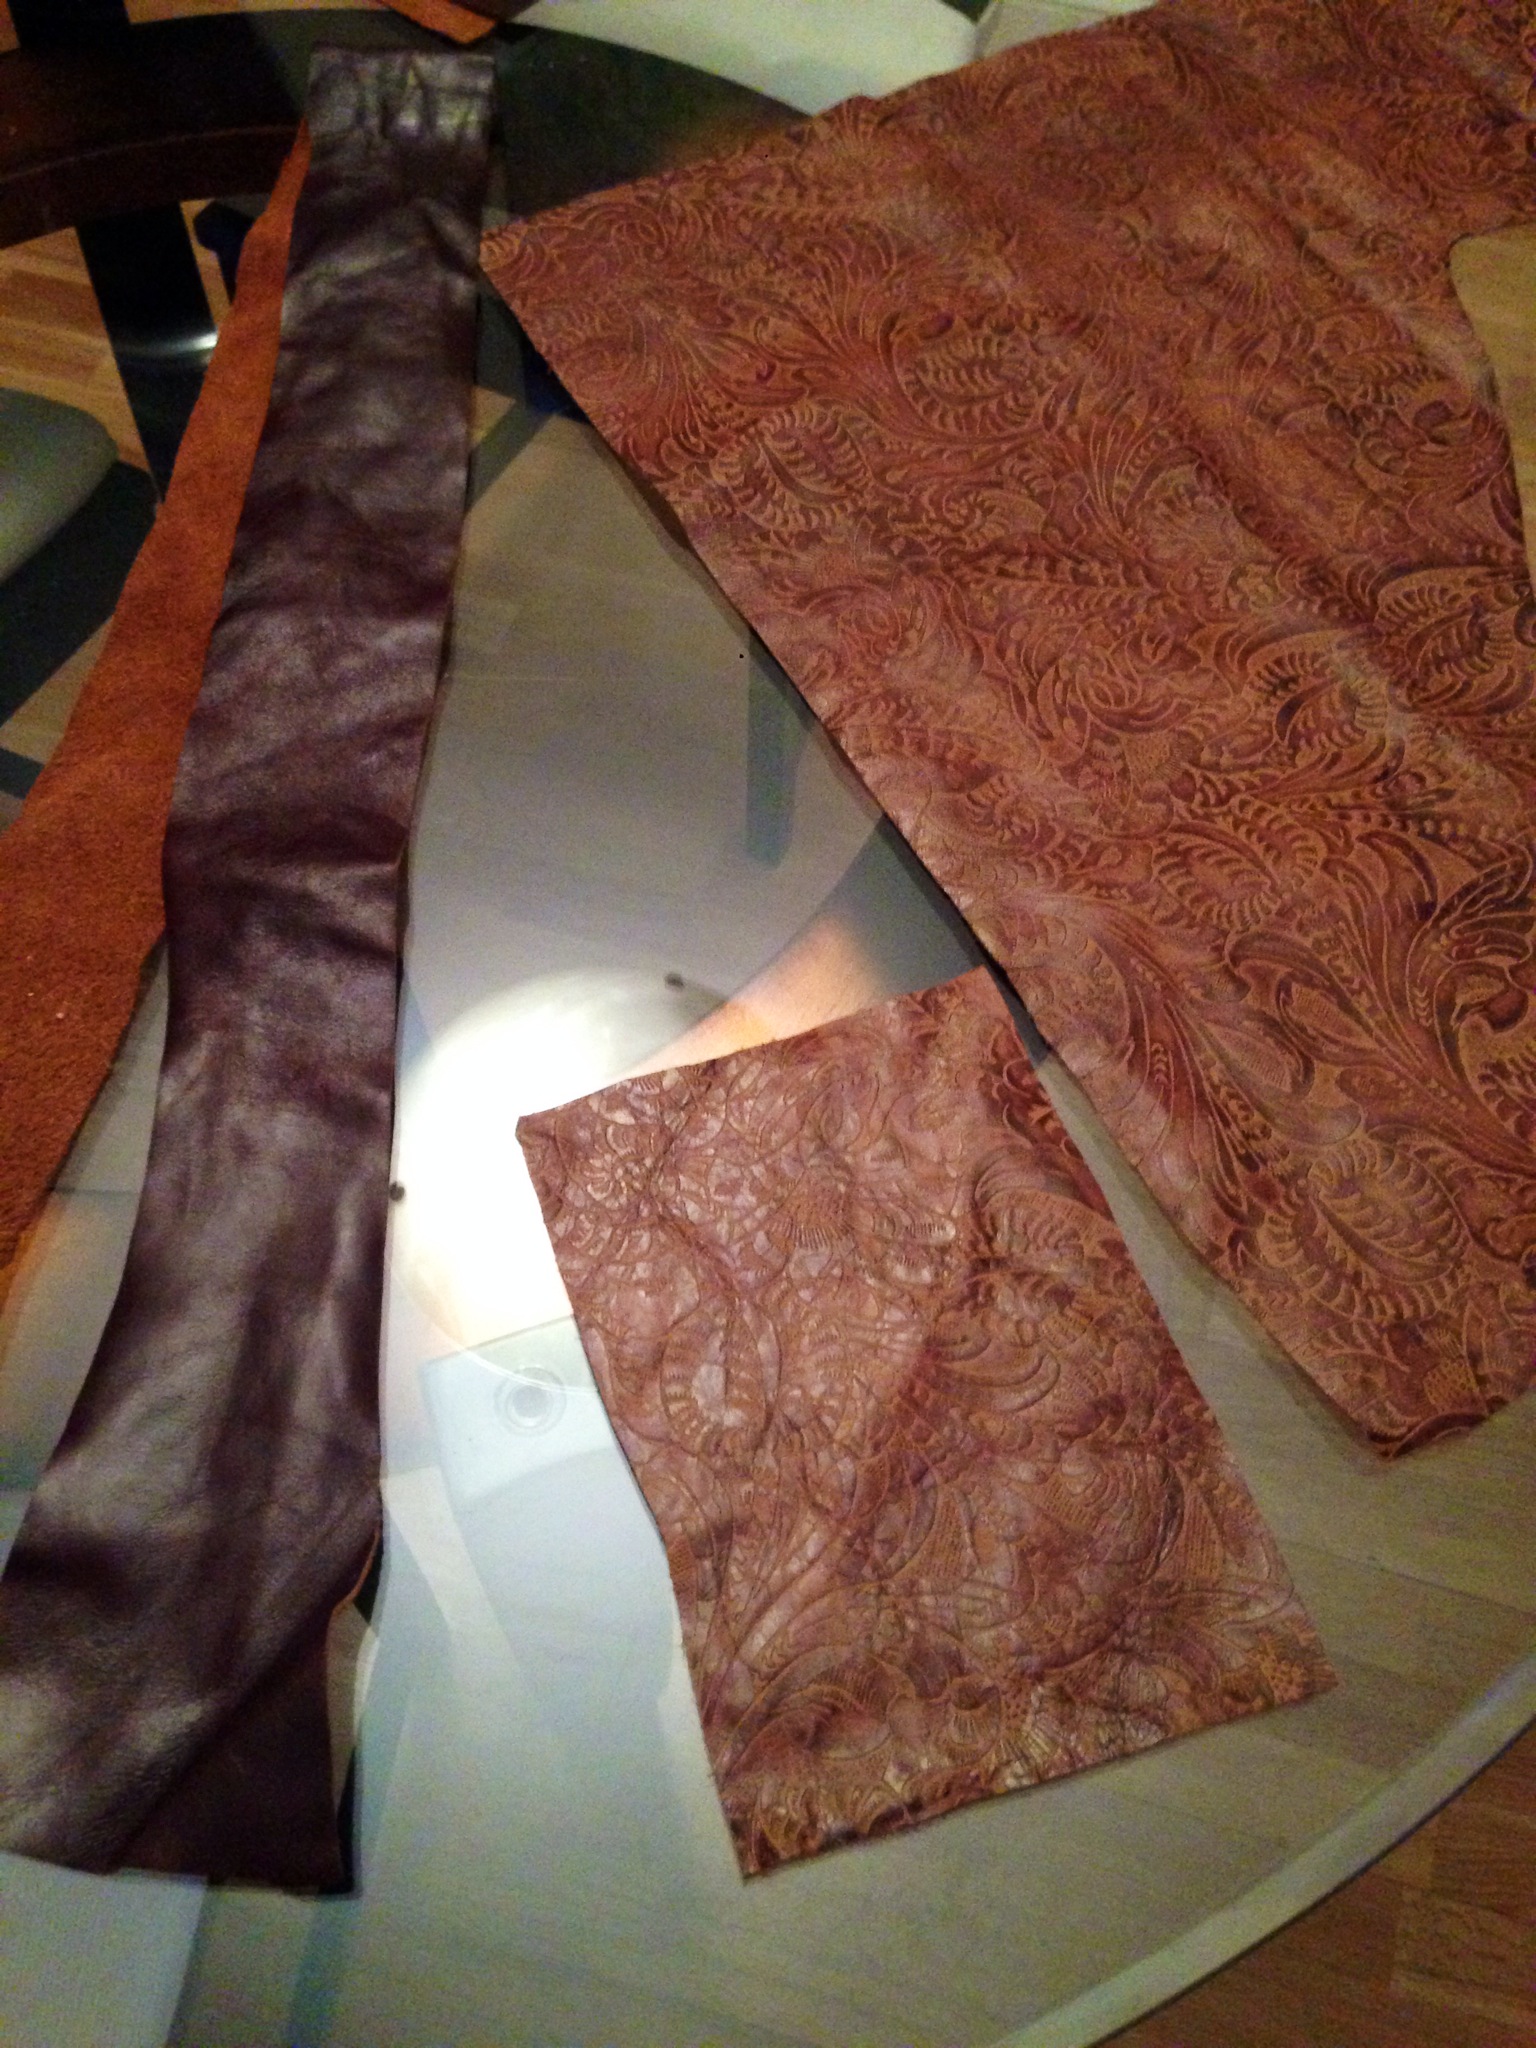
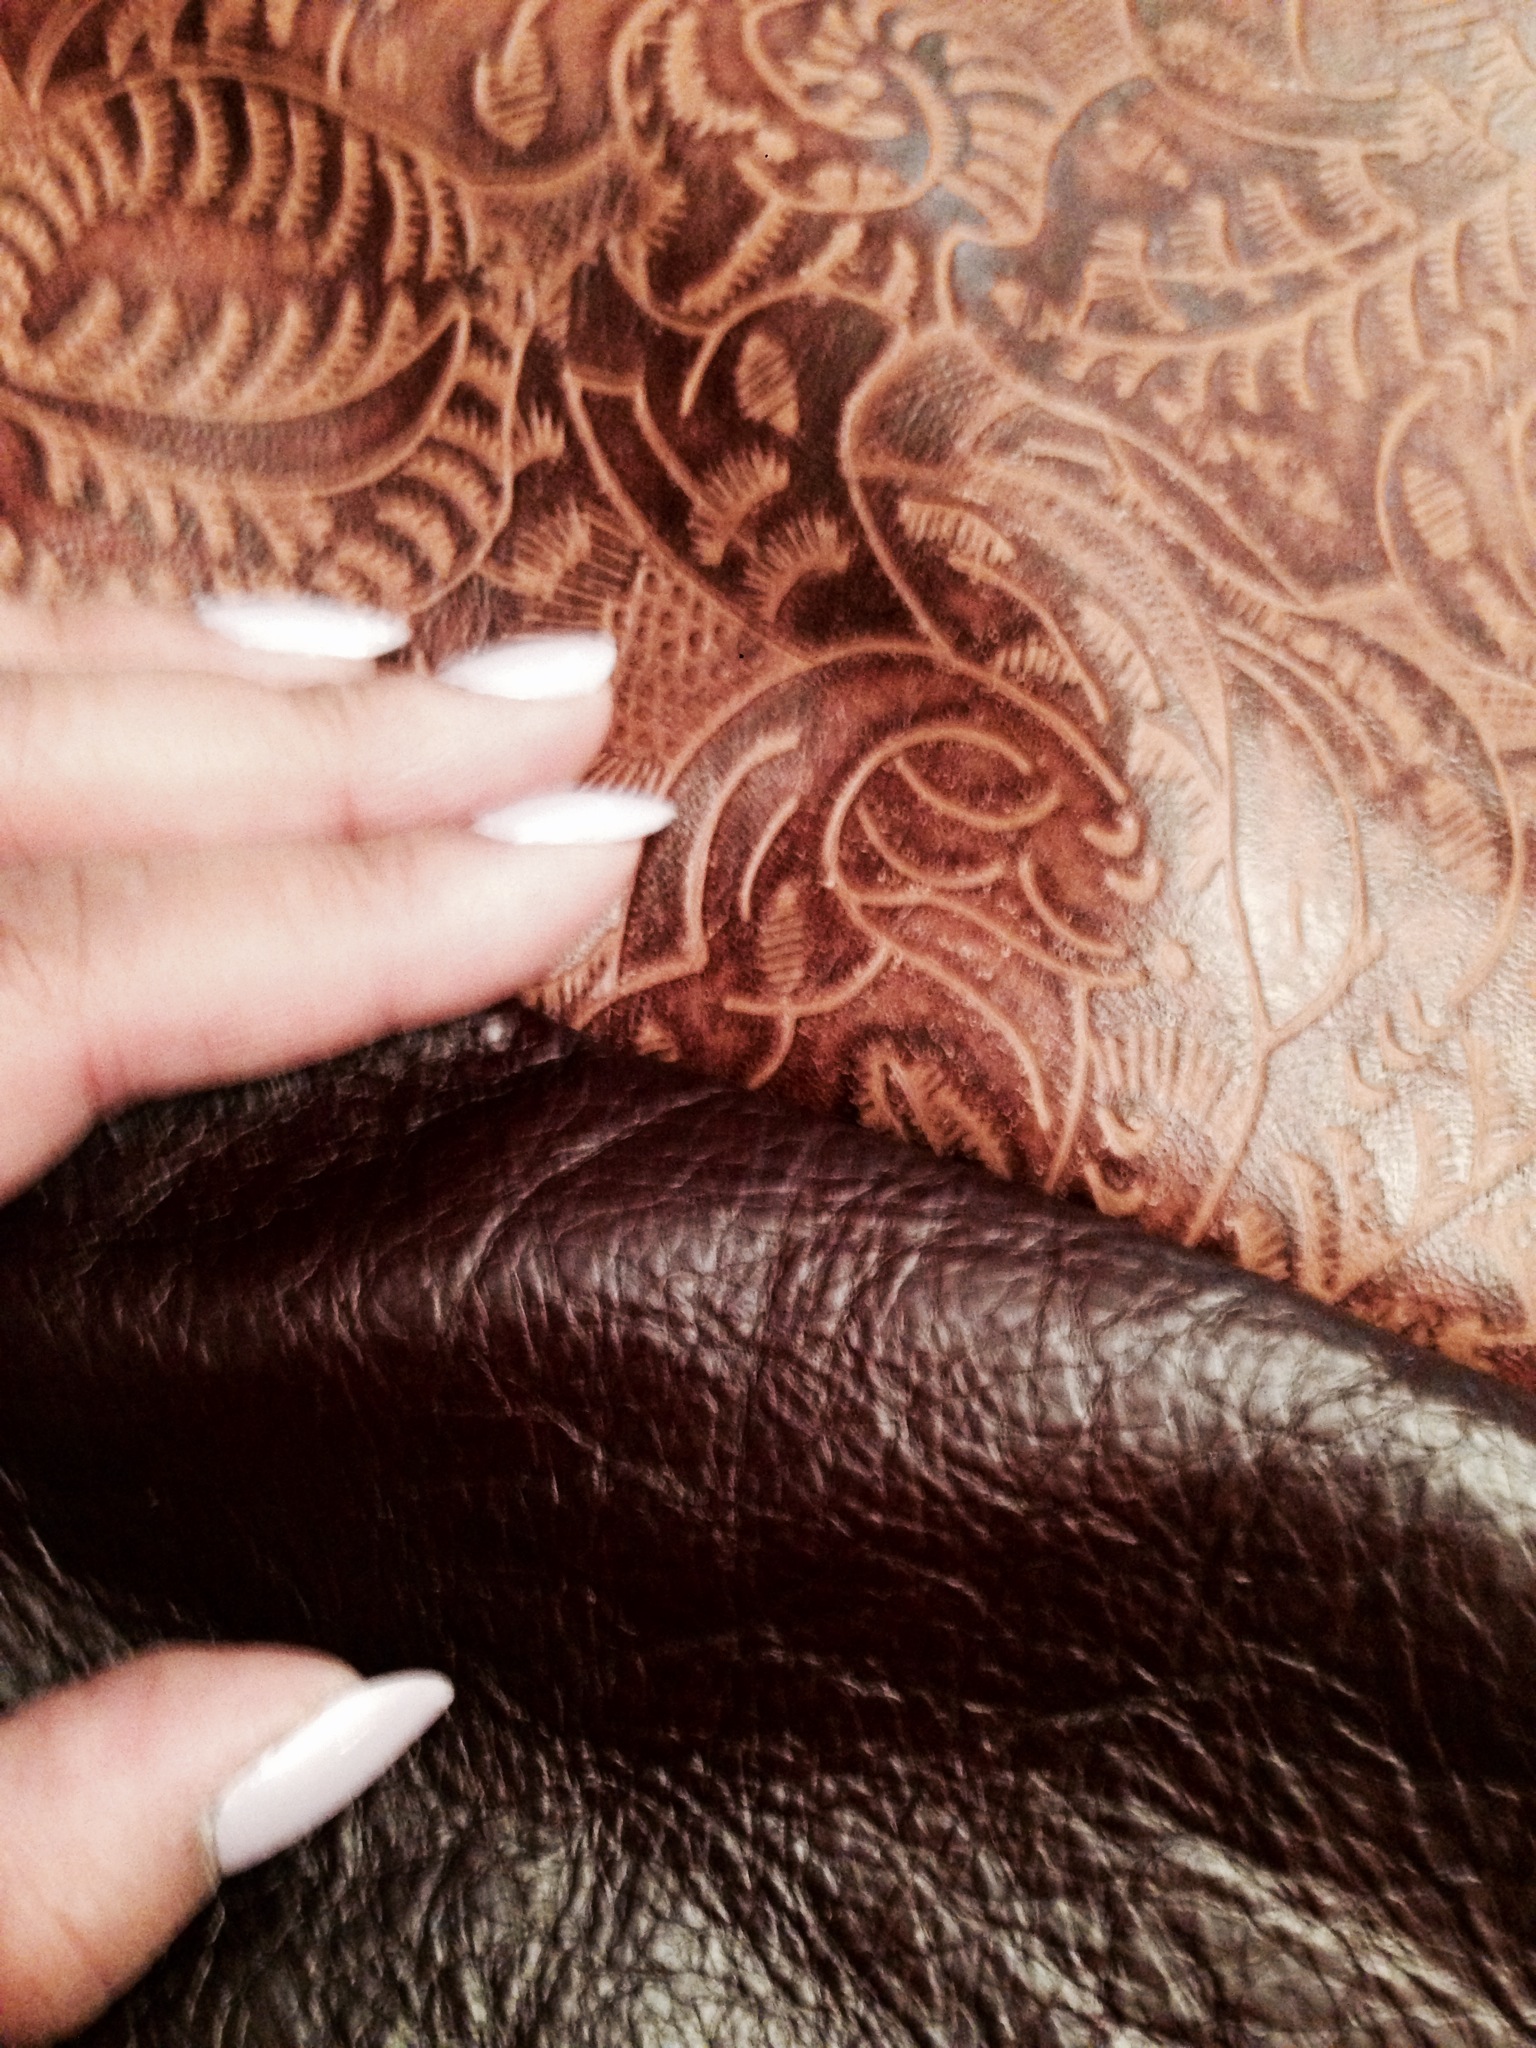
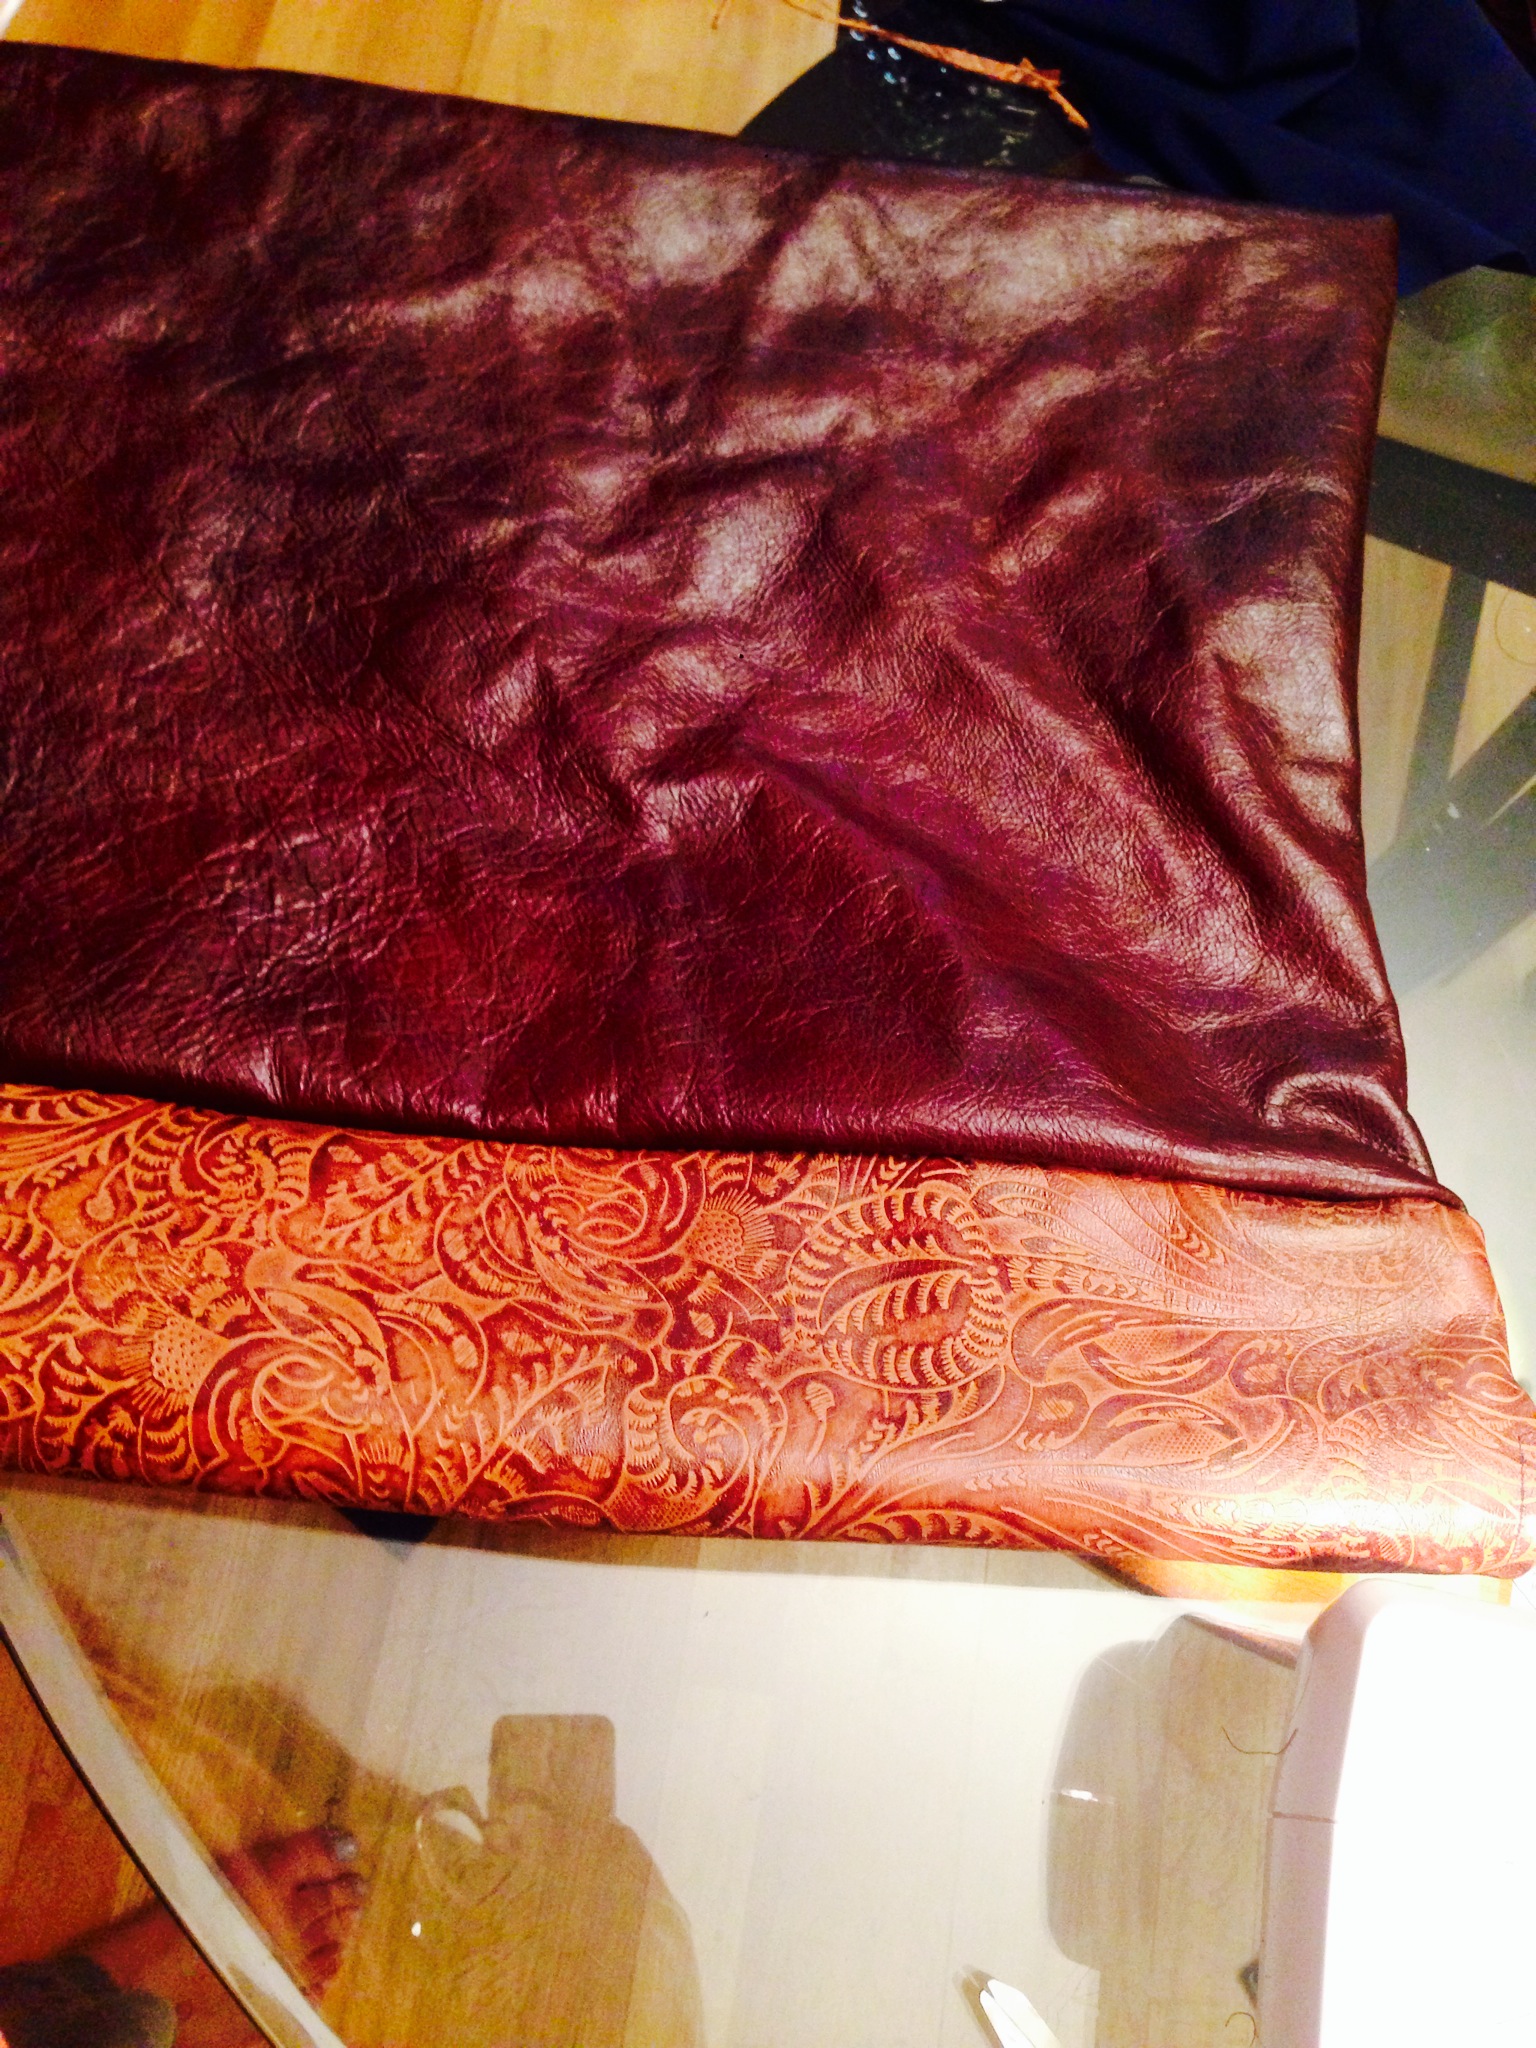
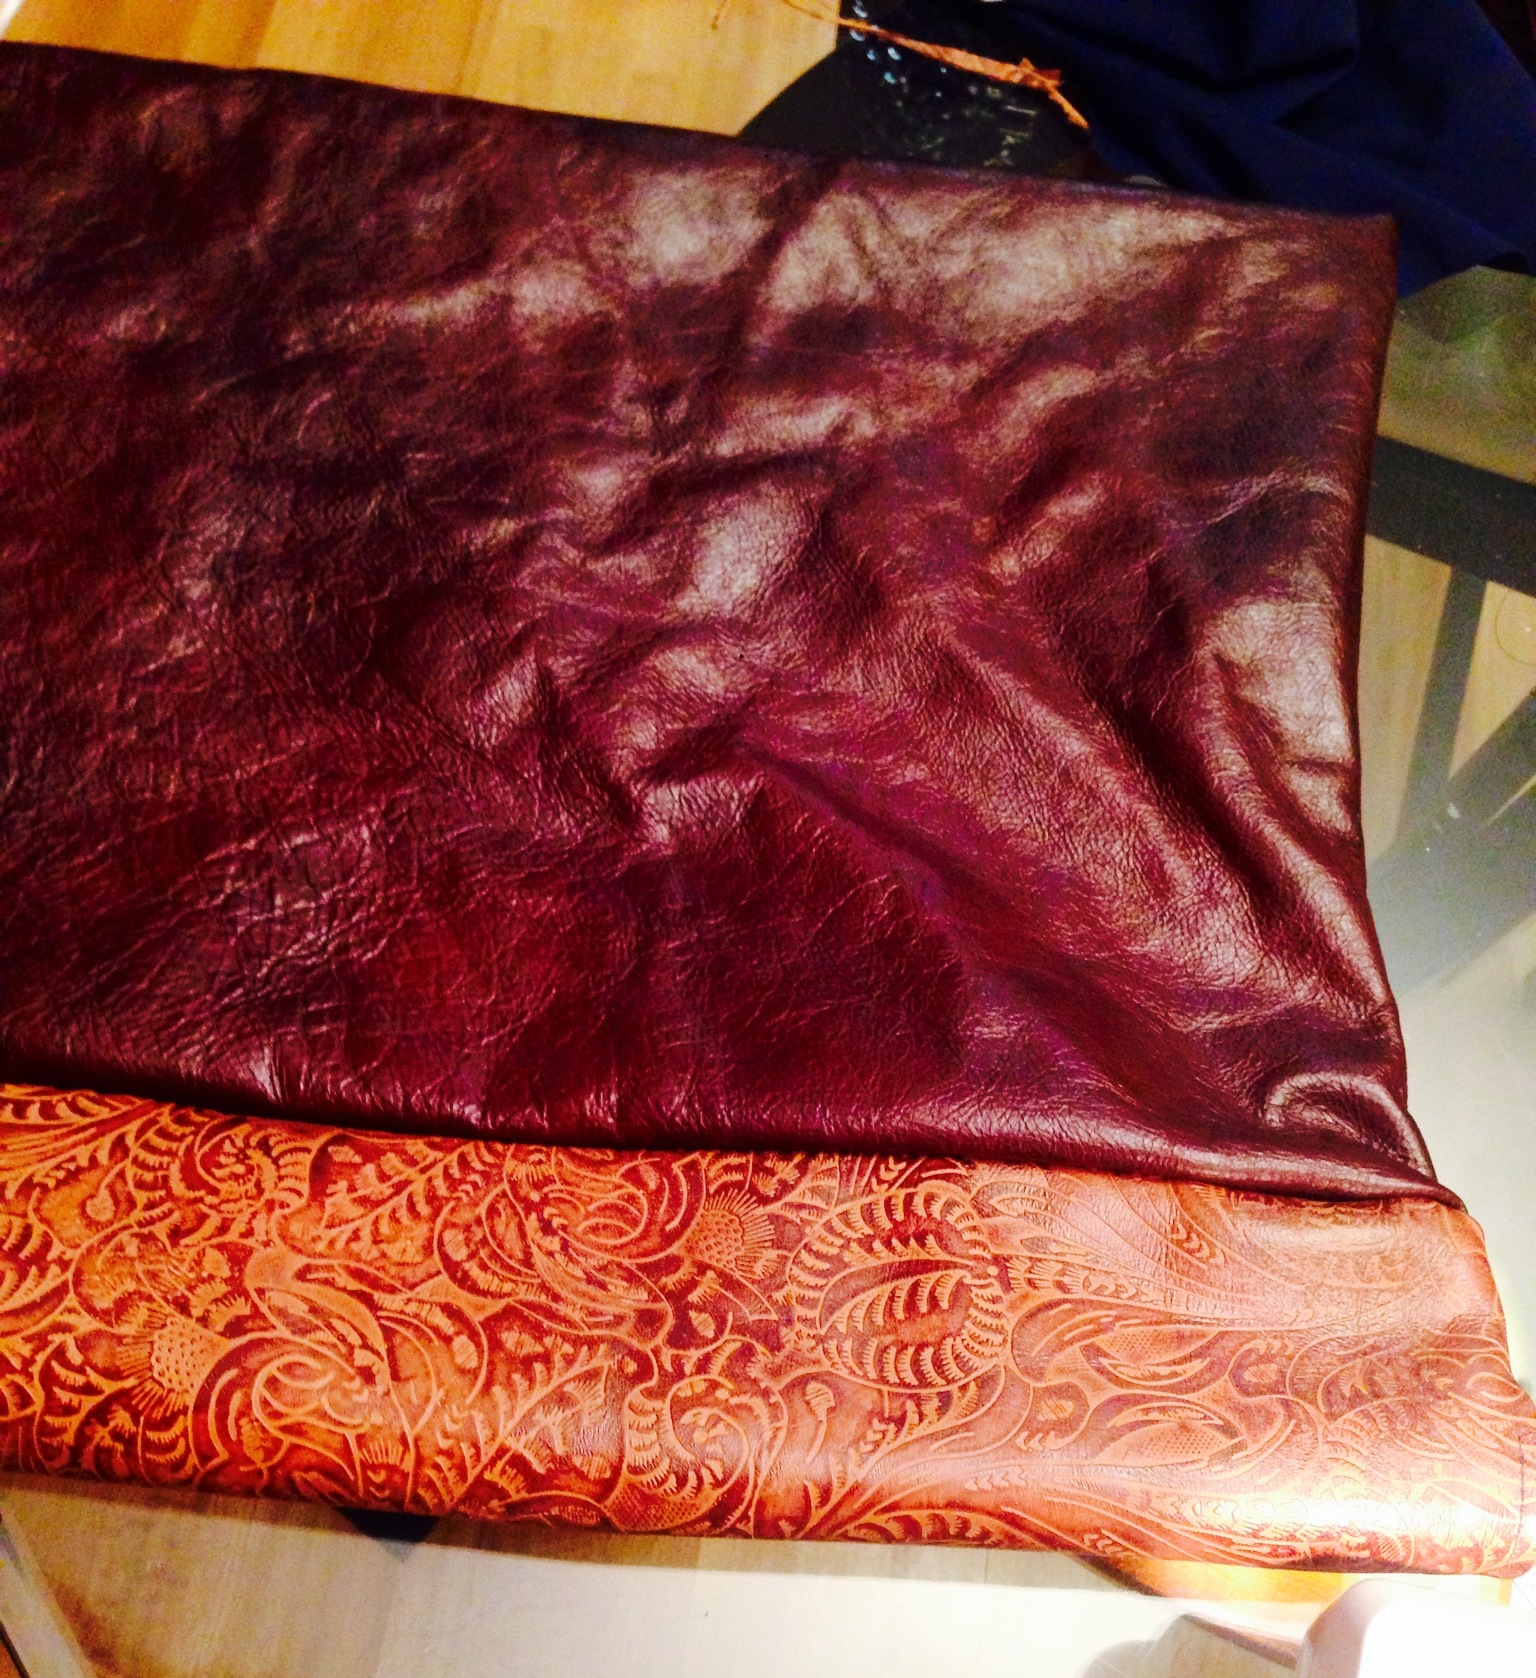
I received two types of leather in my package of remnants. I decided I would use some for the body of the bag and the other as the flap.
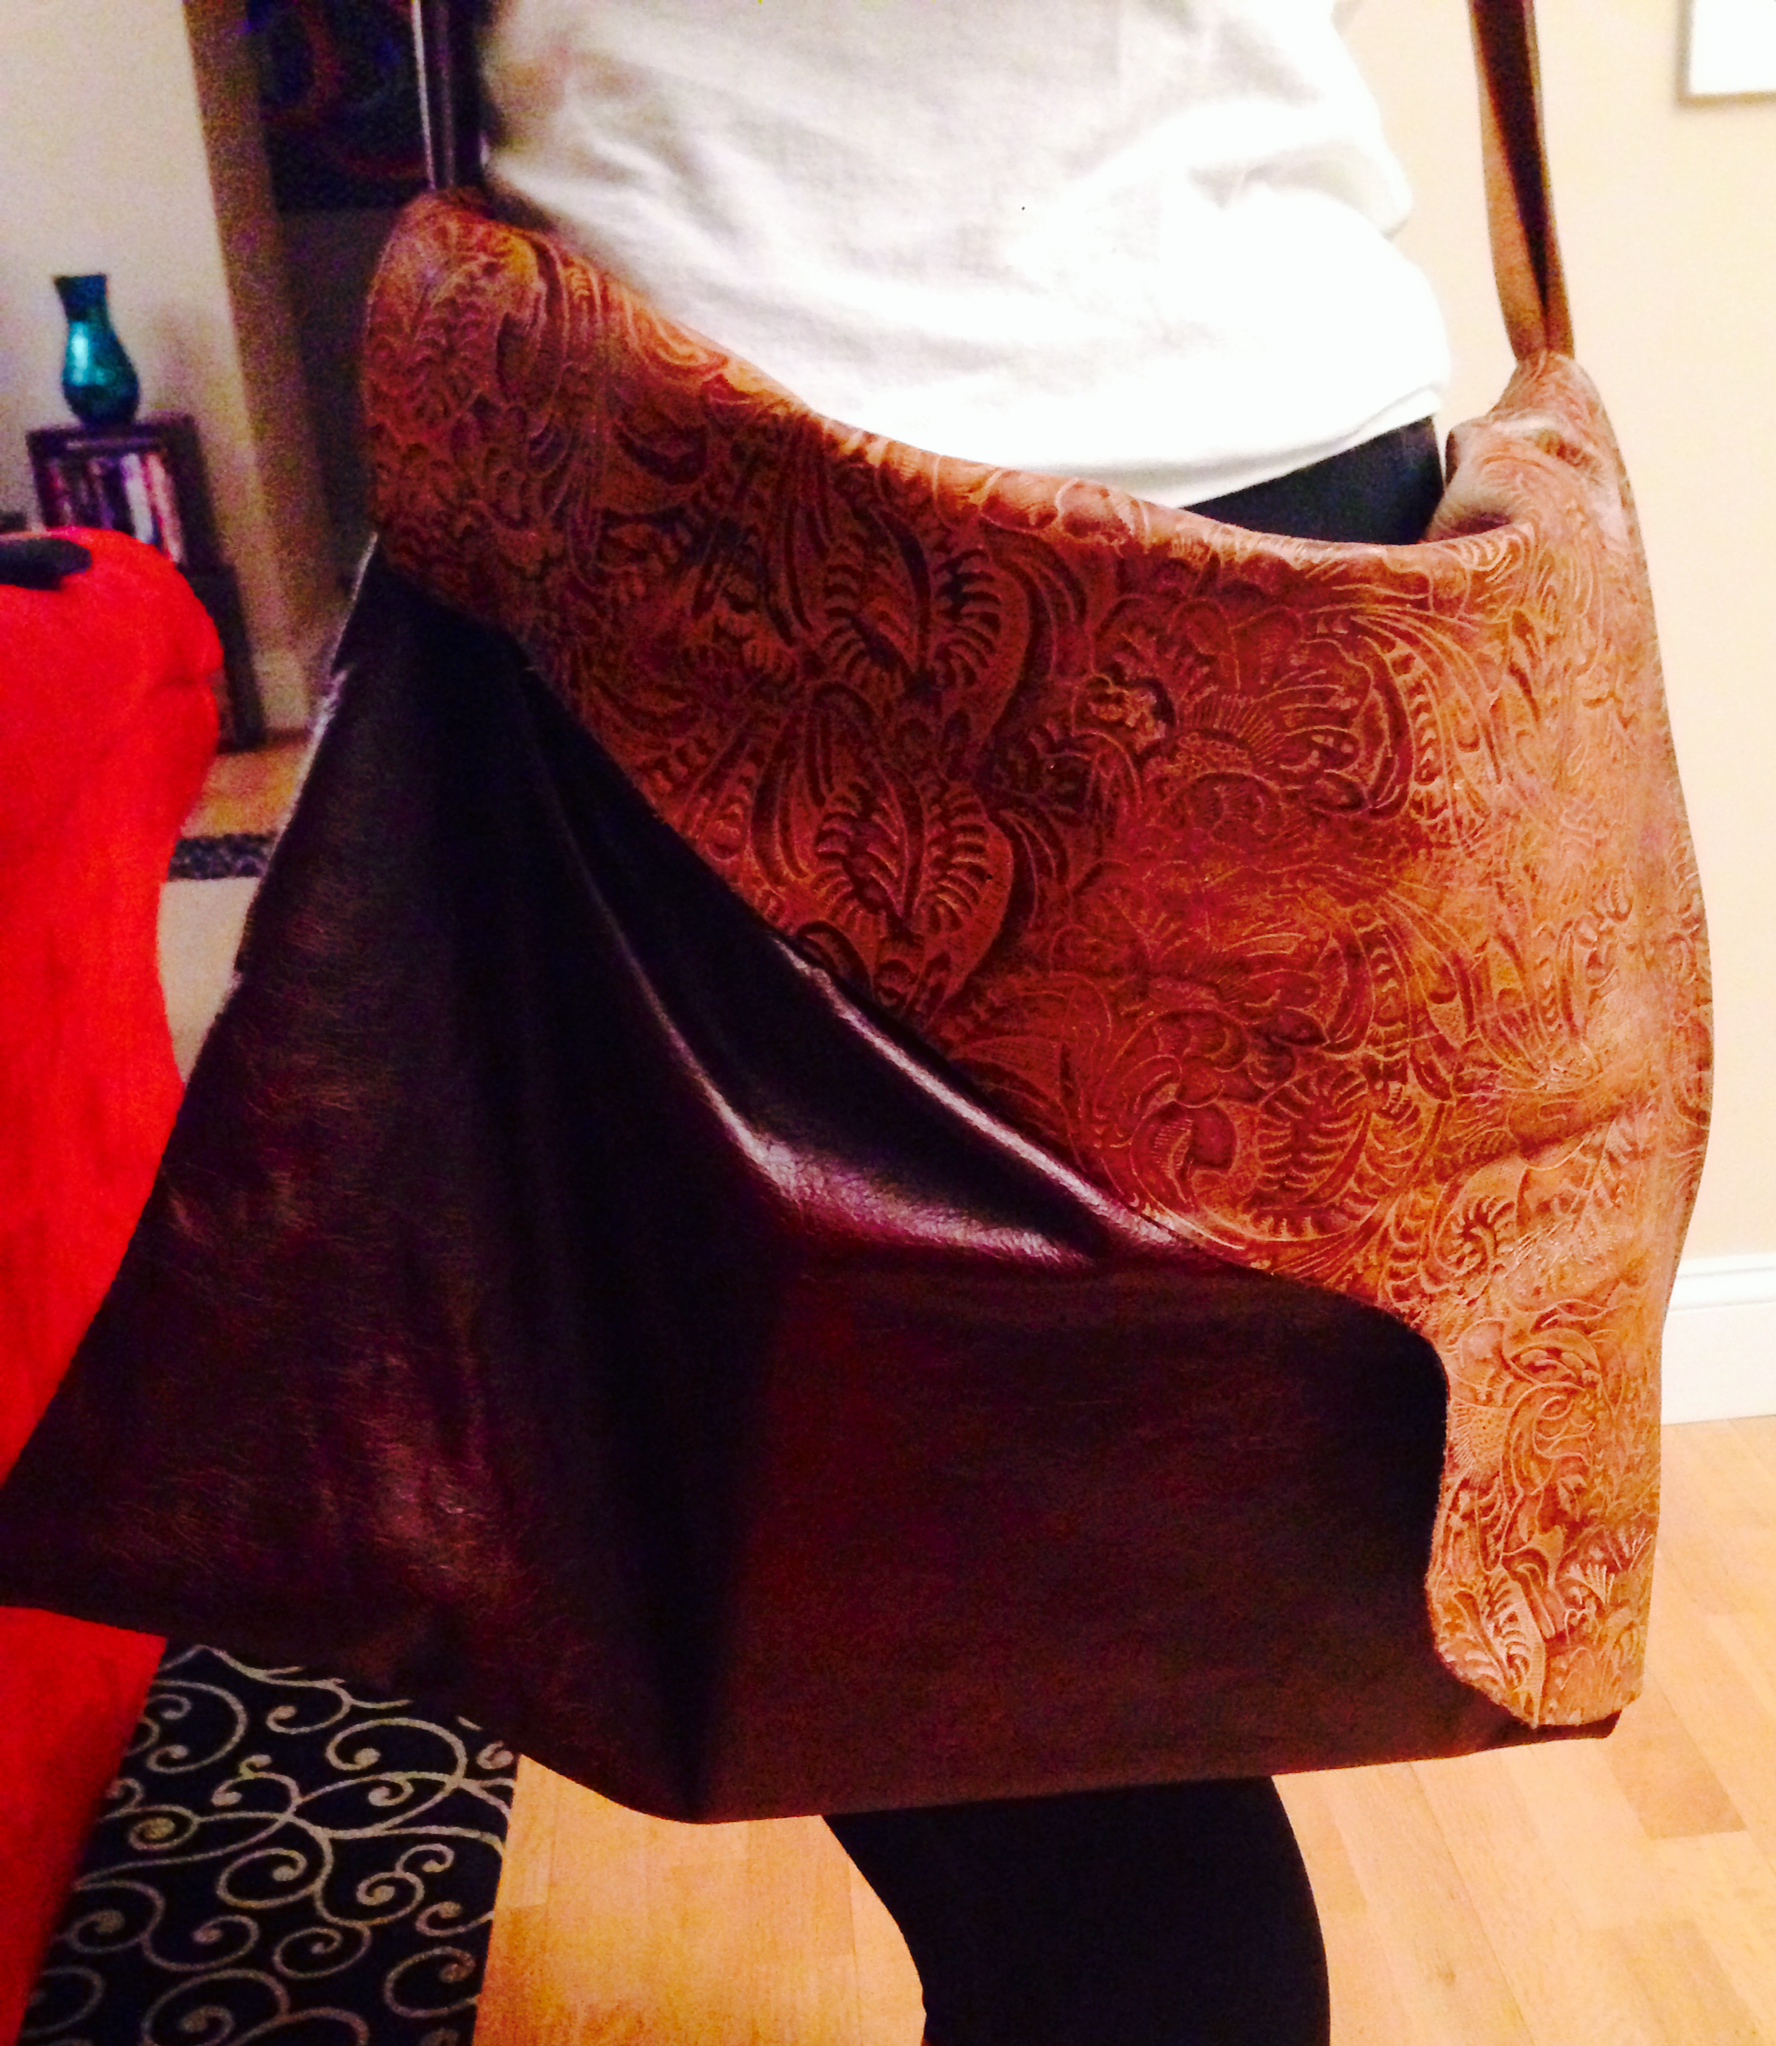
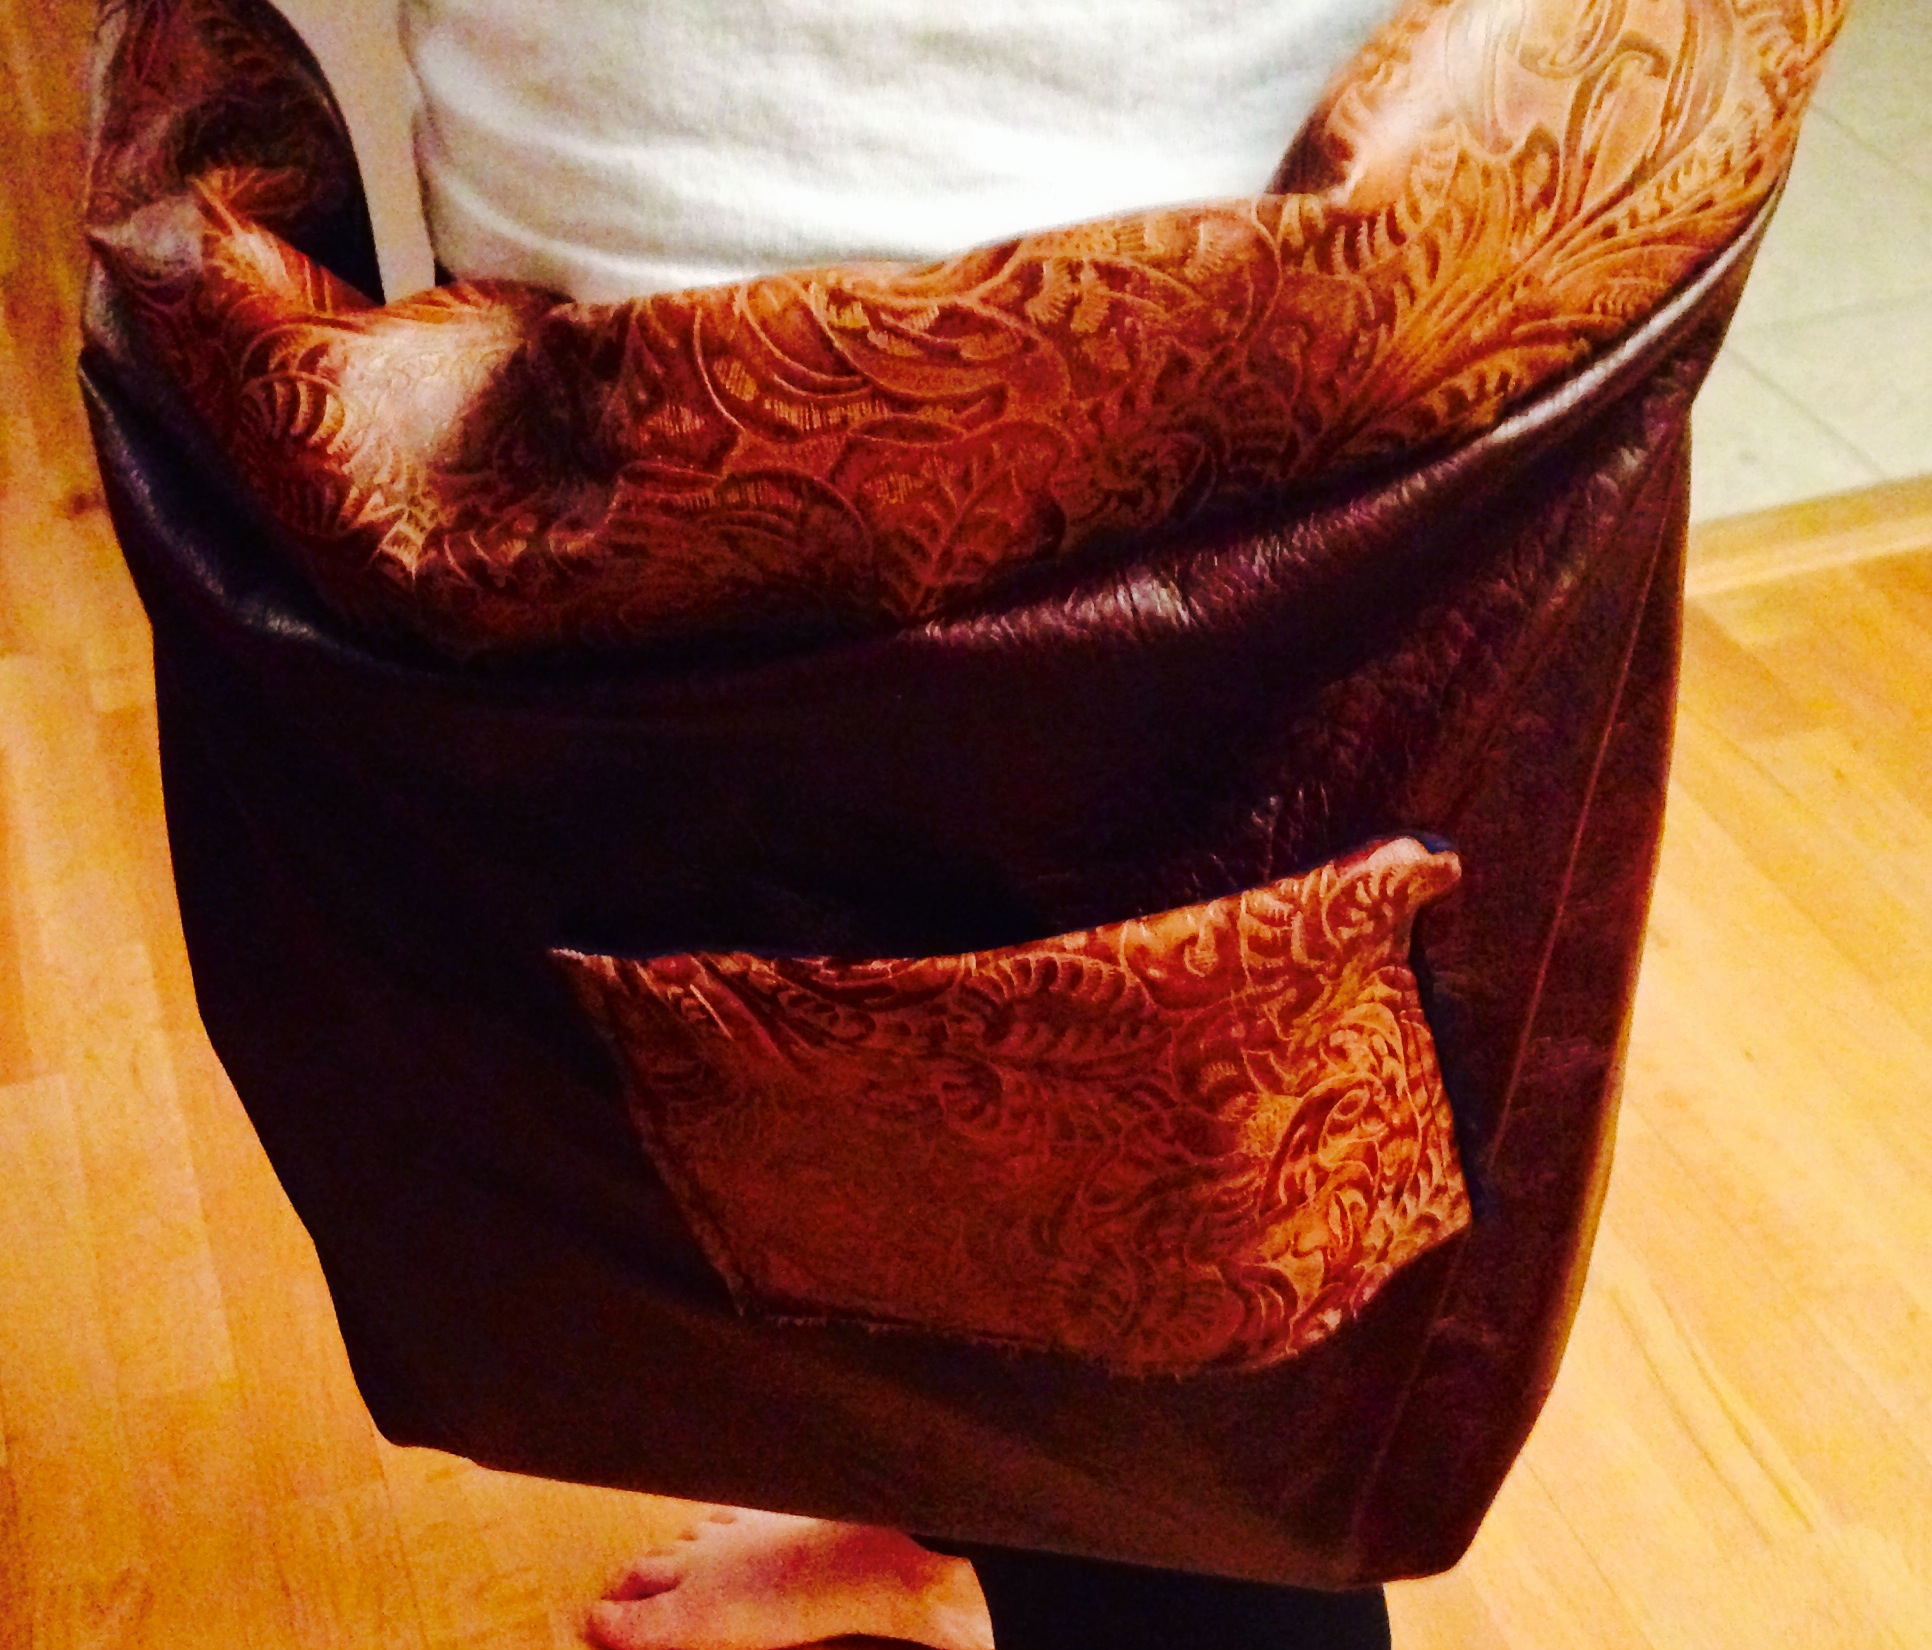
 I used remnants of some fabric as the lining. The base of the bag will be dark brown and the flap will be the embossed leather. It was a very nice compliment. The fabric I had was a navy blue which was a nice touch. I decided to use a navy blue thread.
 So the first thing is to cut the material. This part was very hard for me, but I had to remember that I was doing it to make sure the cow’s life was put to good use.
I decided I wanted a big cross-body saddle bag (to carry all my secrets), so I did the following;
Dark brown leather for base: 33″ x 21″
Dark brown leather for strap: 2″ x 52″
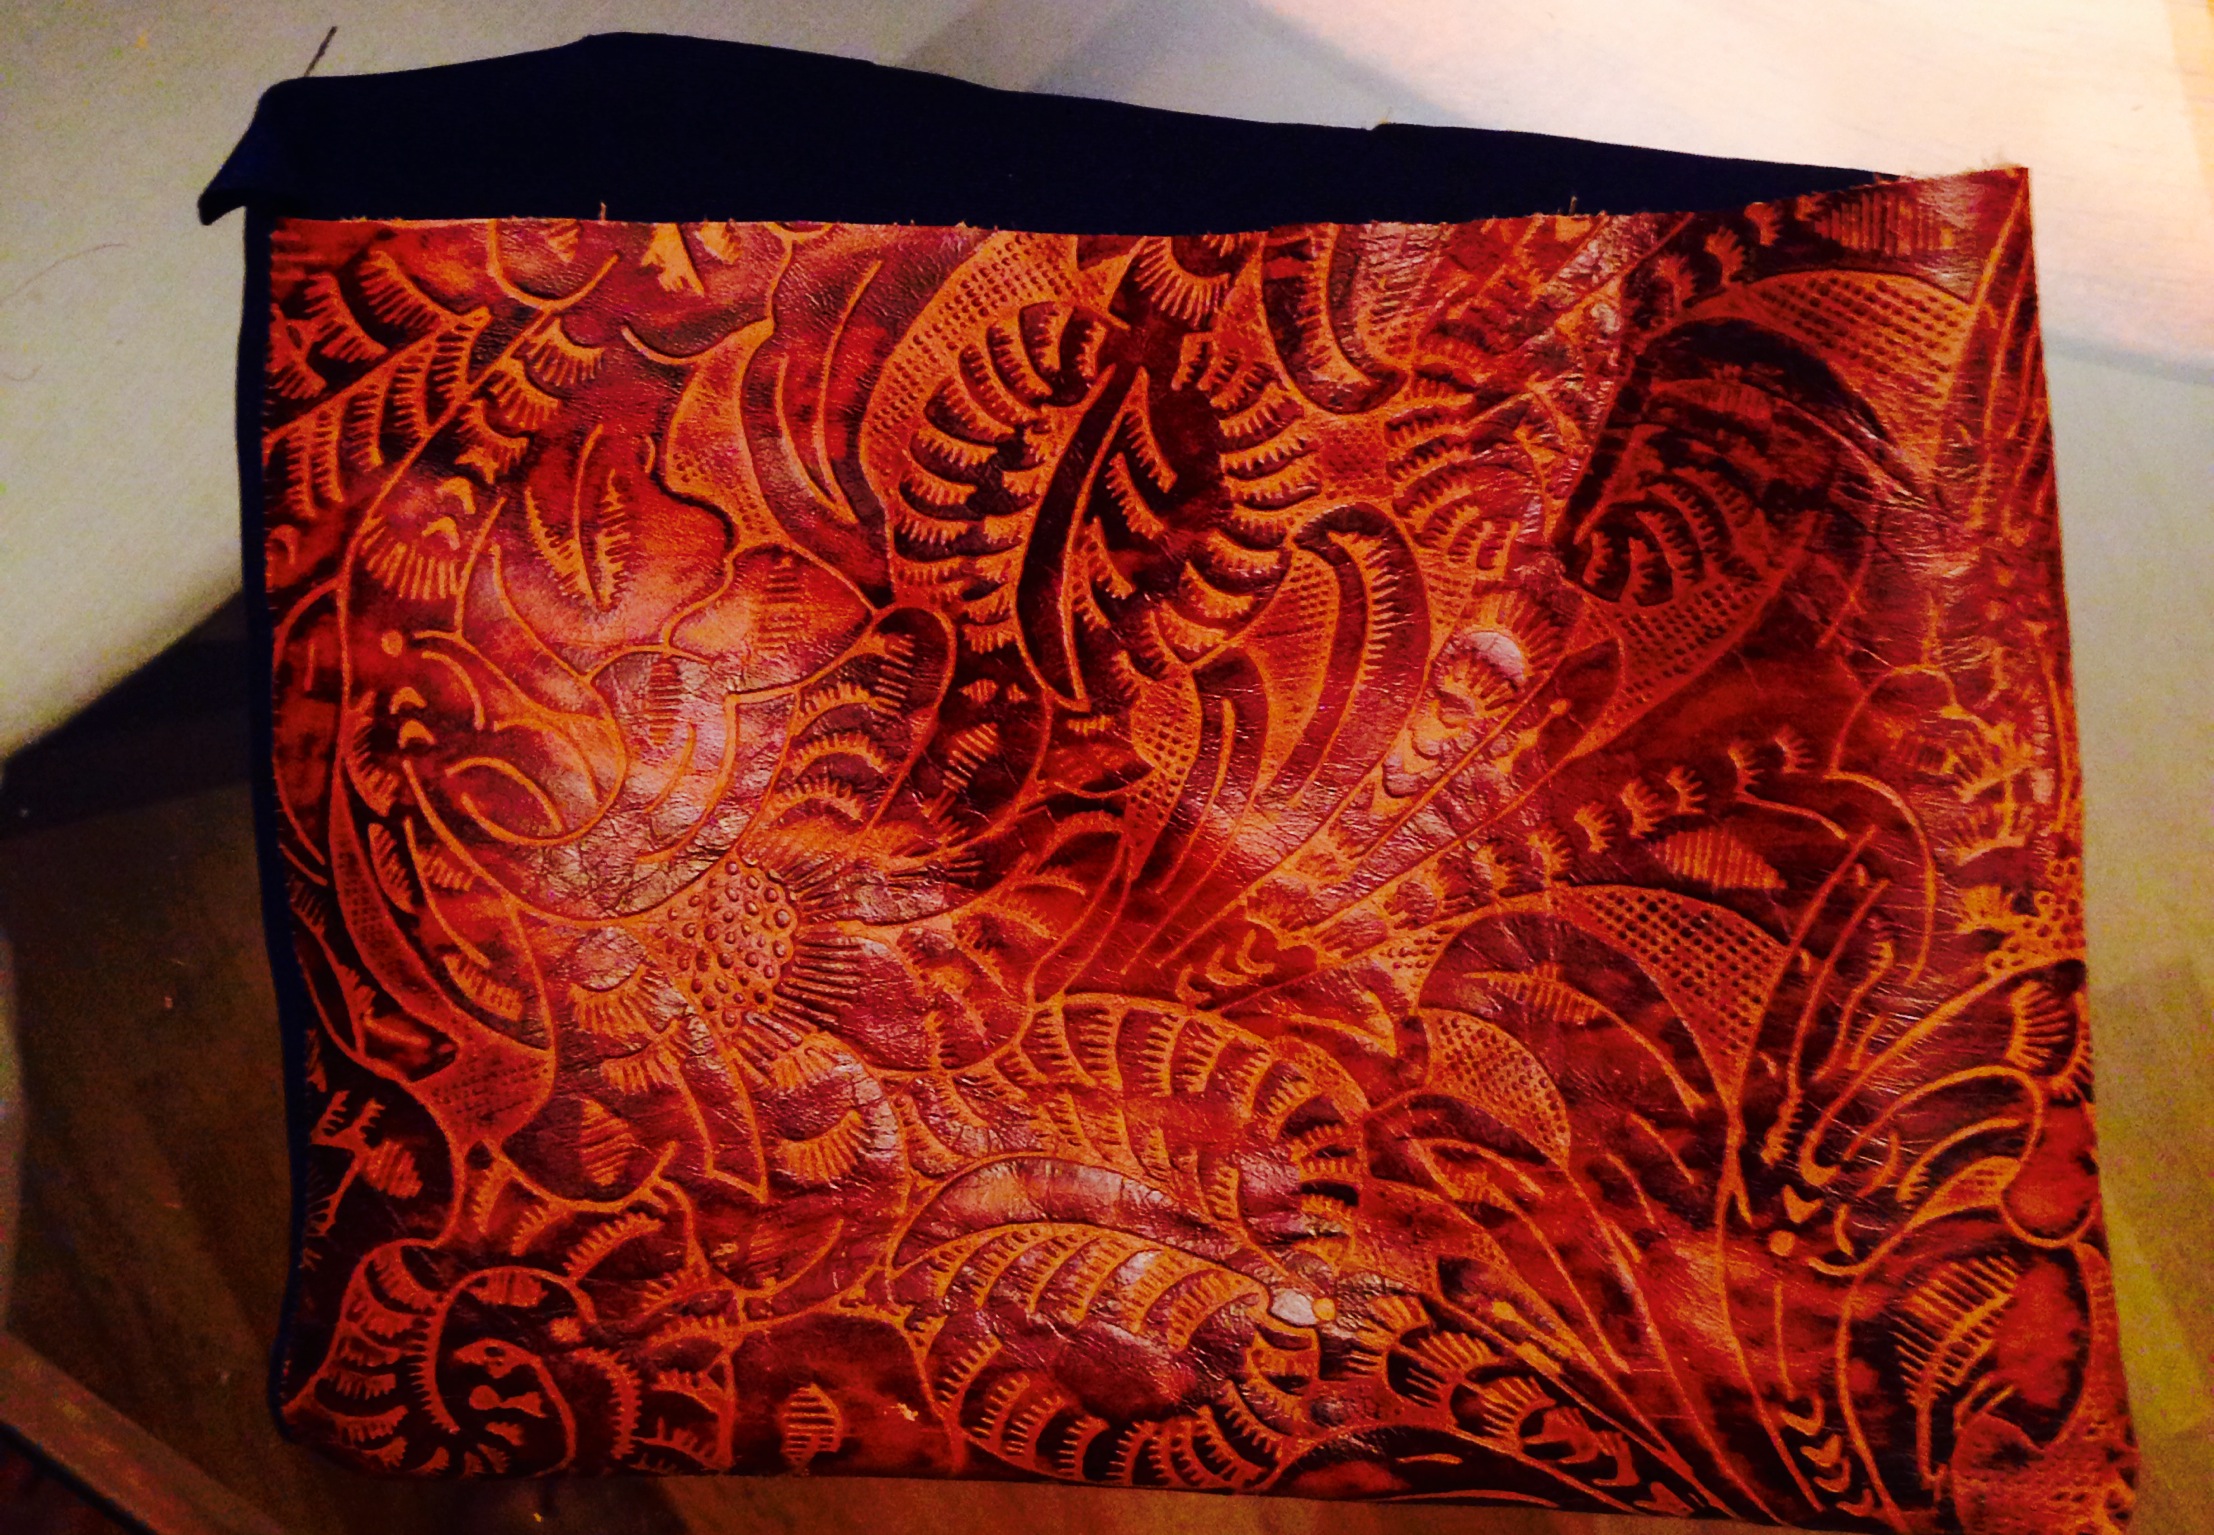
For the flap, I kept some of the contusions as it was received. It was roughly 21″ x 16″.
I used the embossed leather for a small accent pocket; 9″ x 6″.
Don’t forget to do the same for the lining except for the flap.
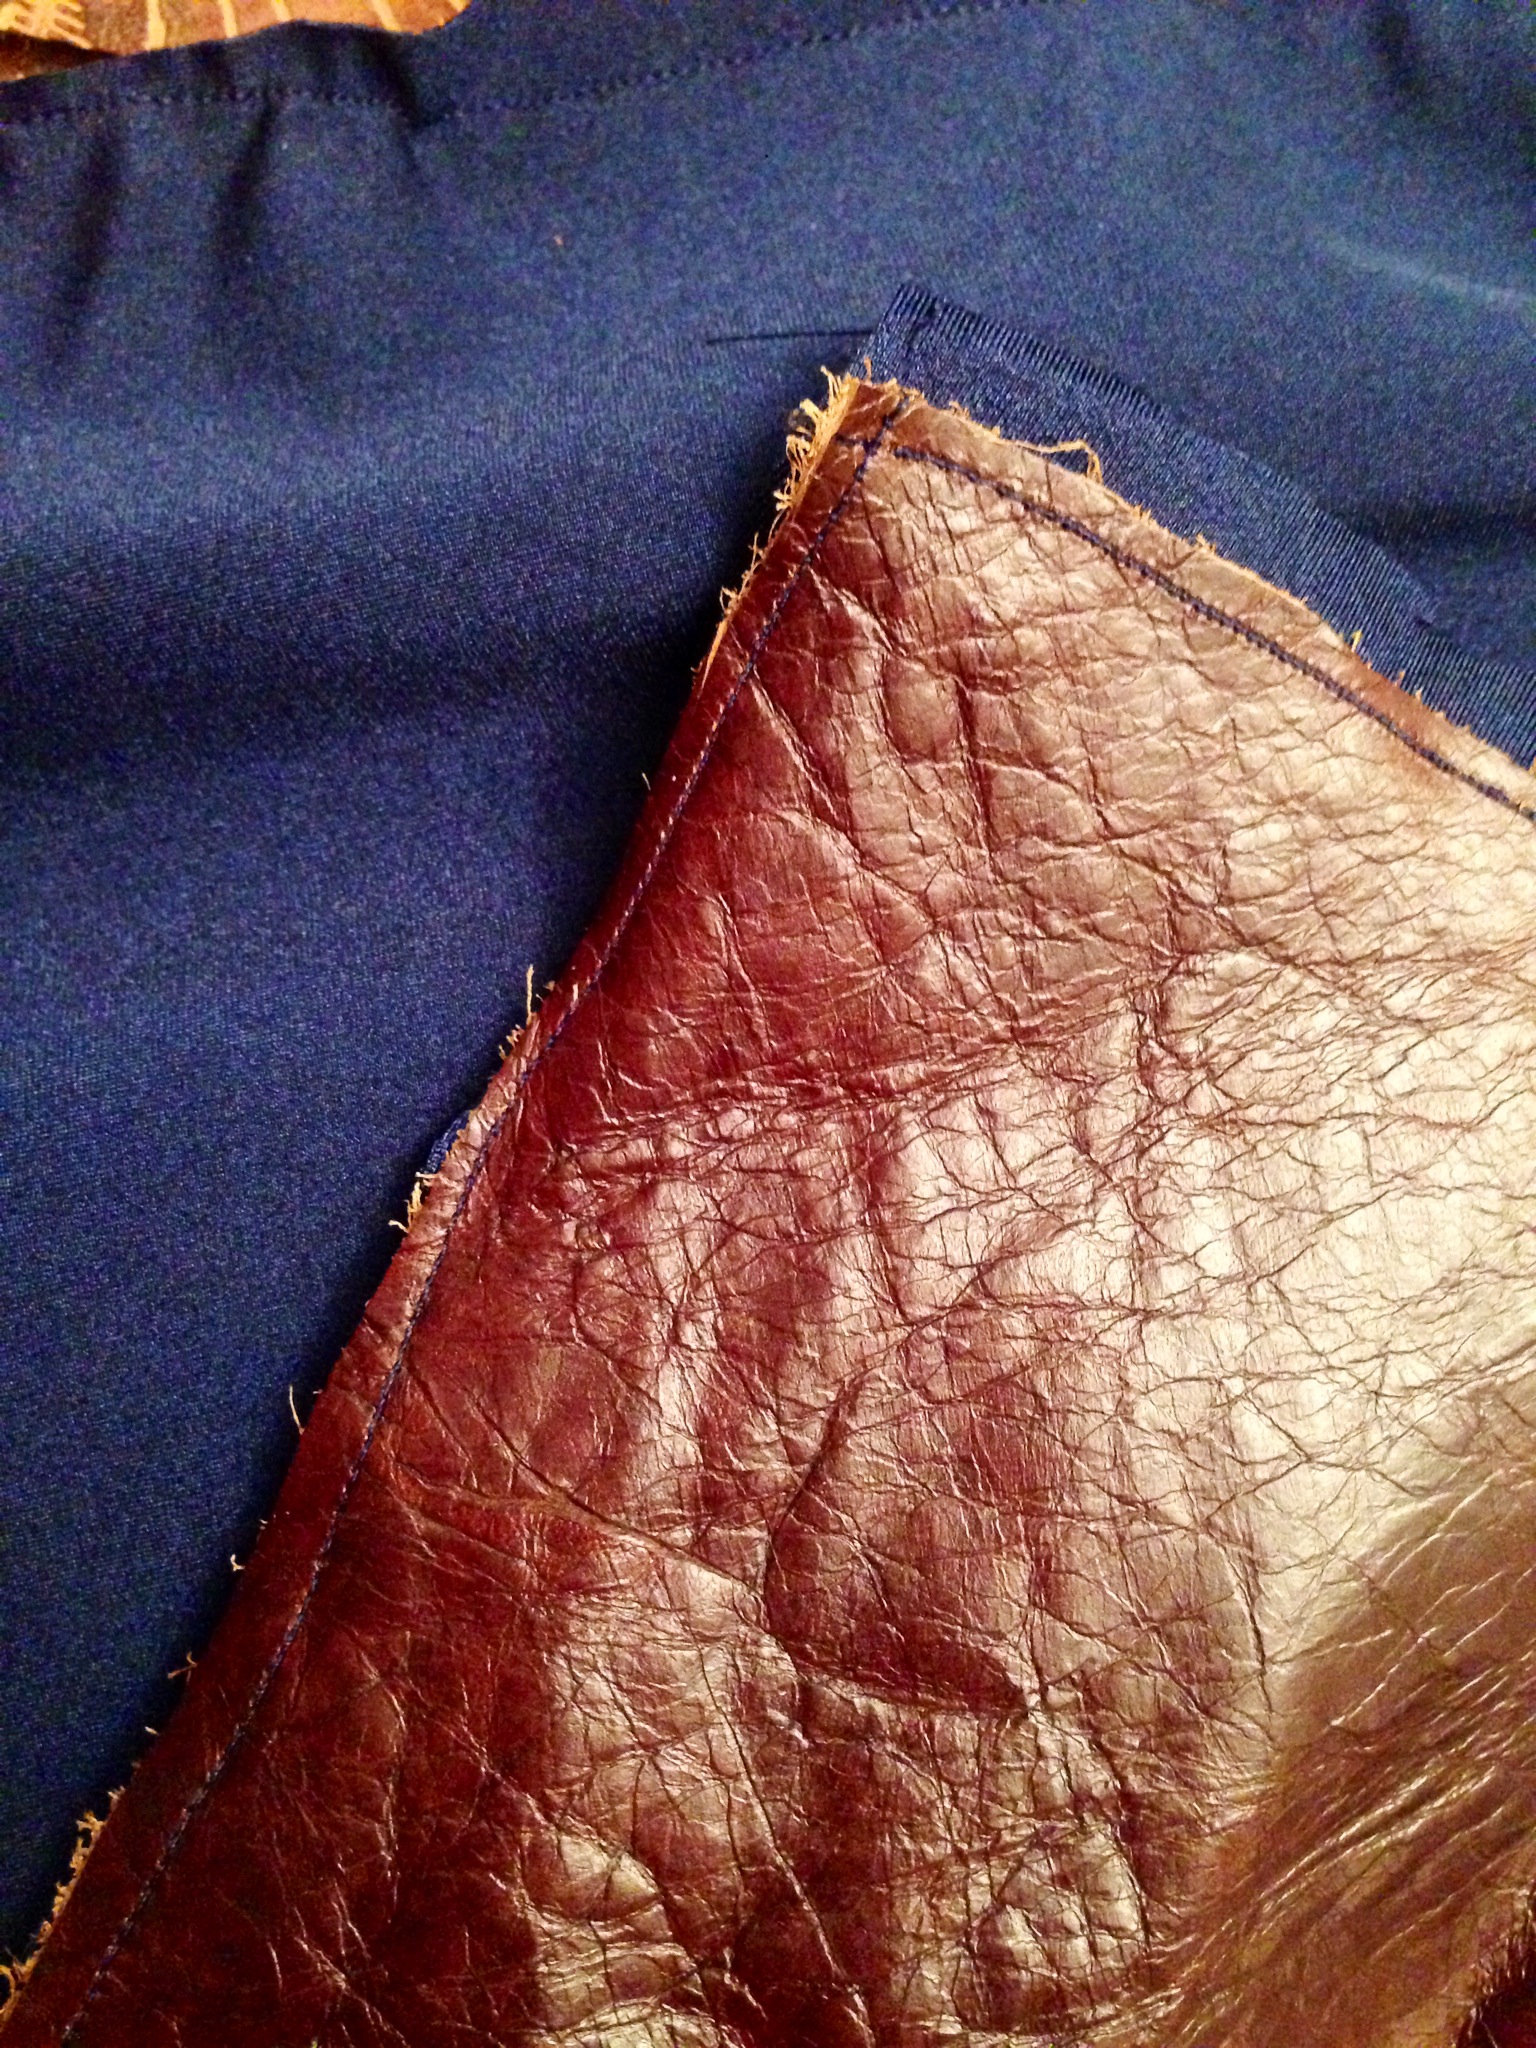
 Now that the pieces are all cut, it is time to sew. I just recently got a machine for my birthday and I haven’t used it until this project. That was extra exciting. I bought a denim needle to be able to handle the thickness of the leather. From the photos, you can see the leather is not hard or thick. There are leather needles, but Michael’s didn’t have it. 😦
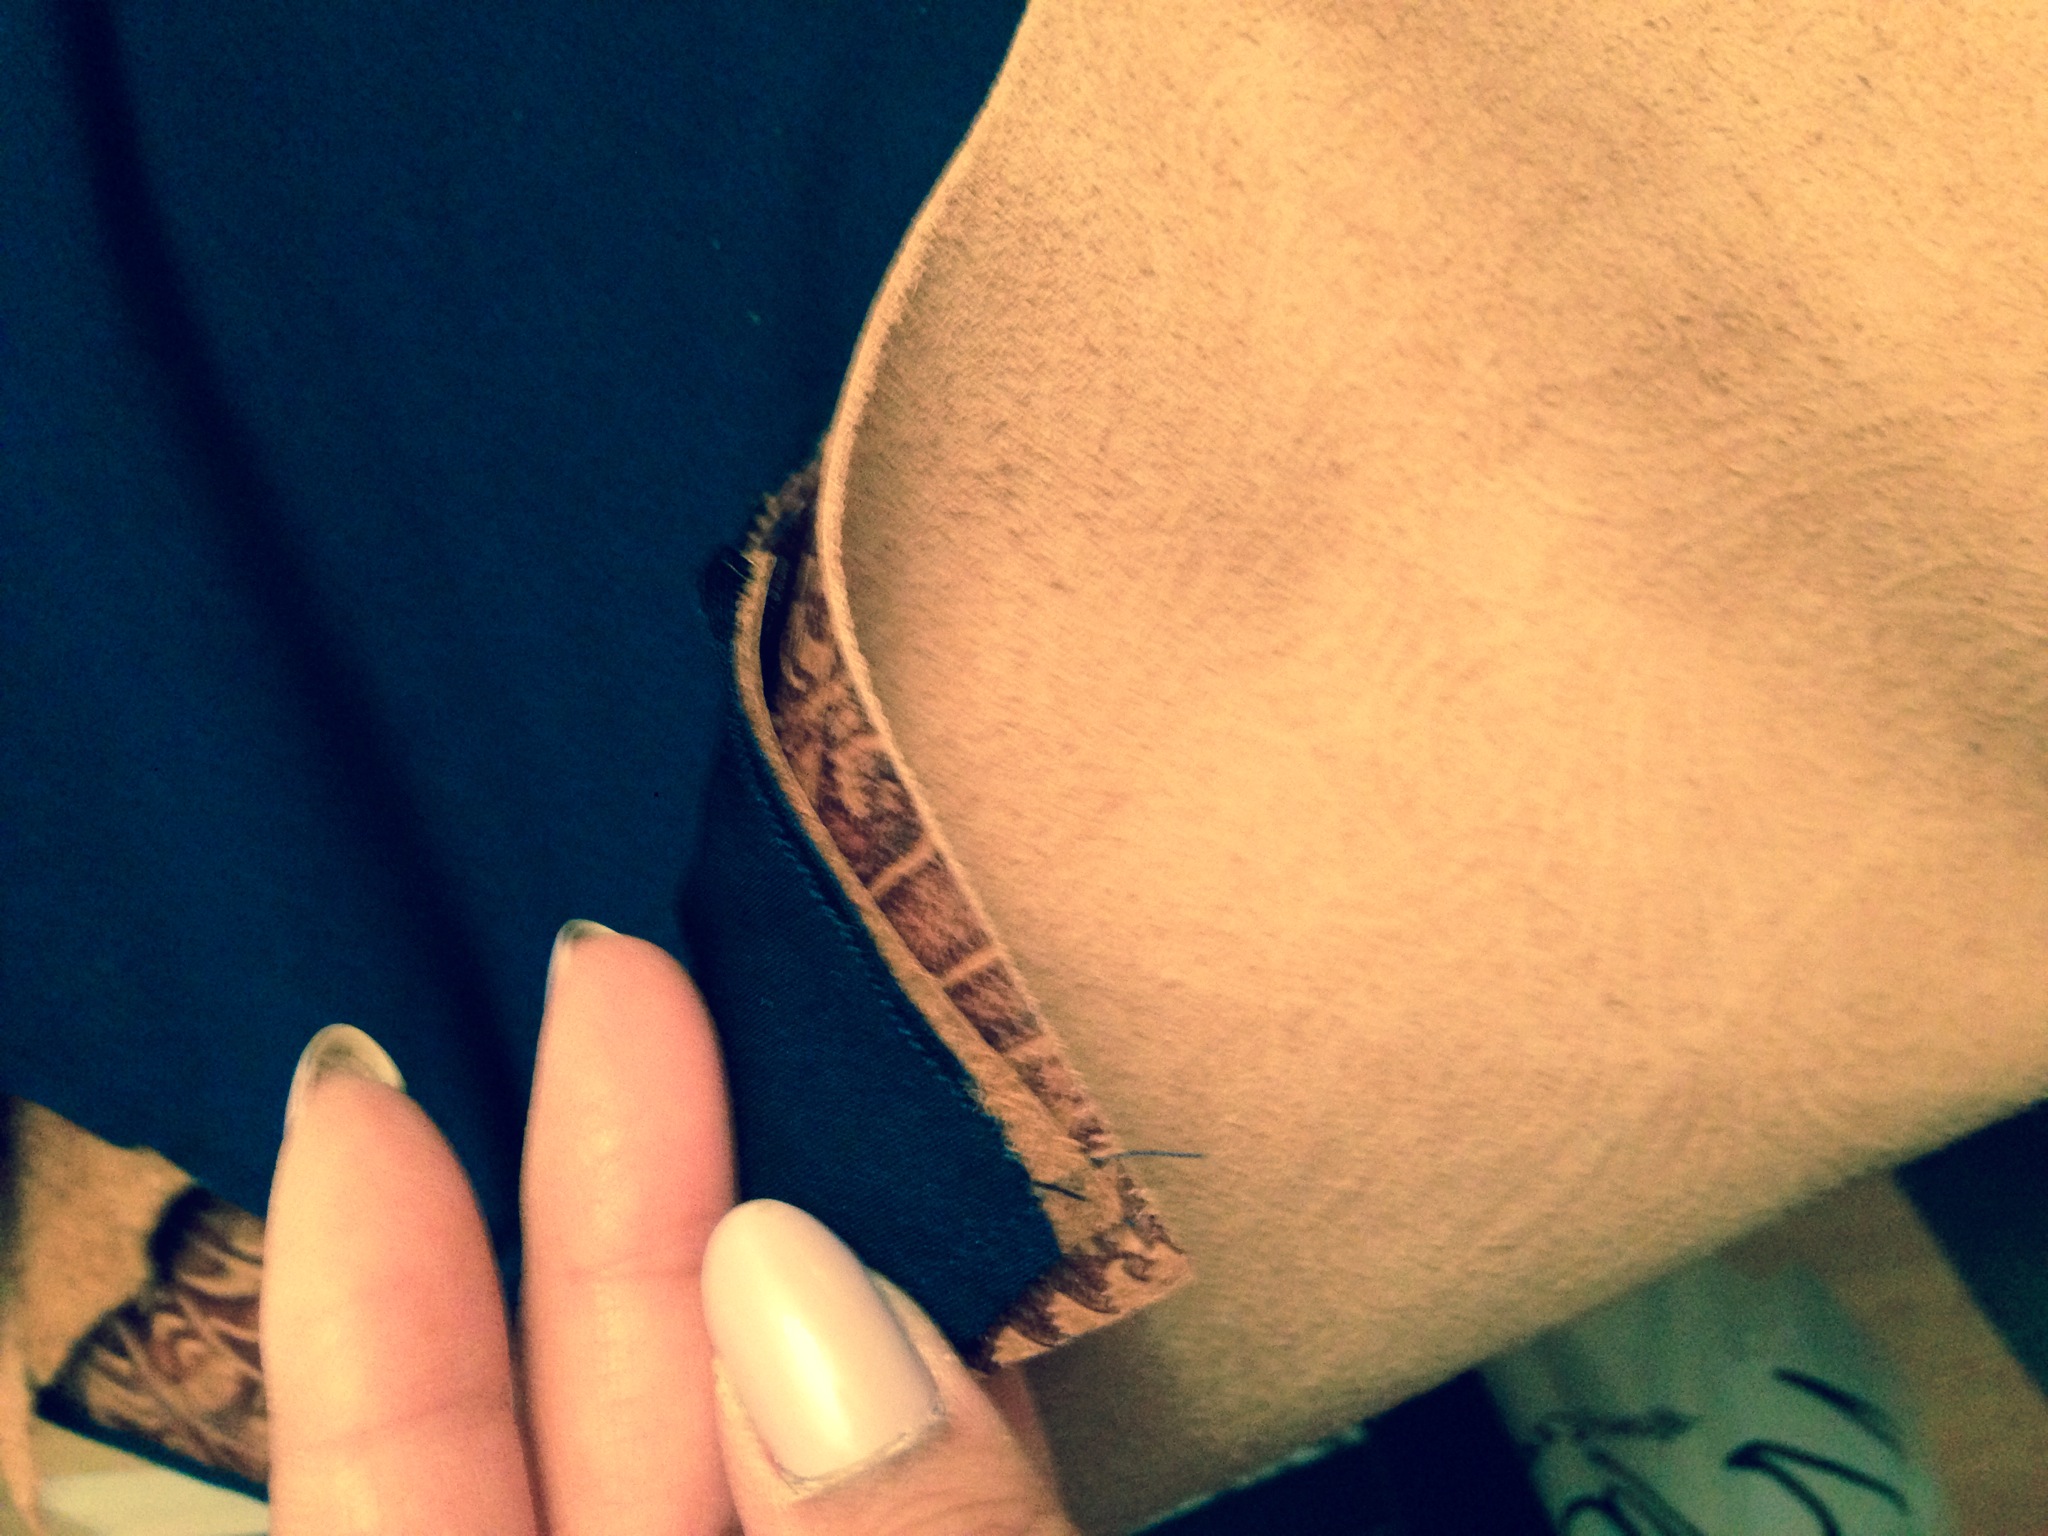
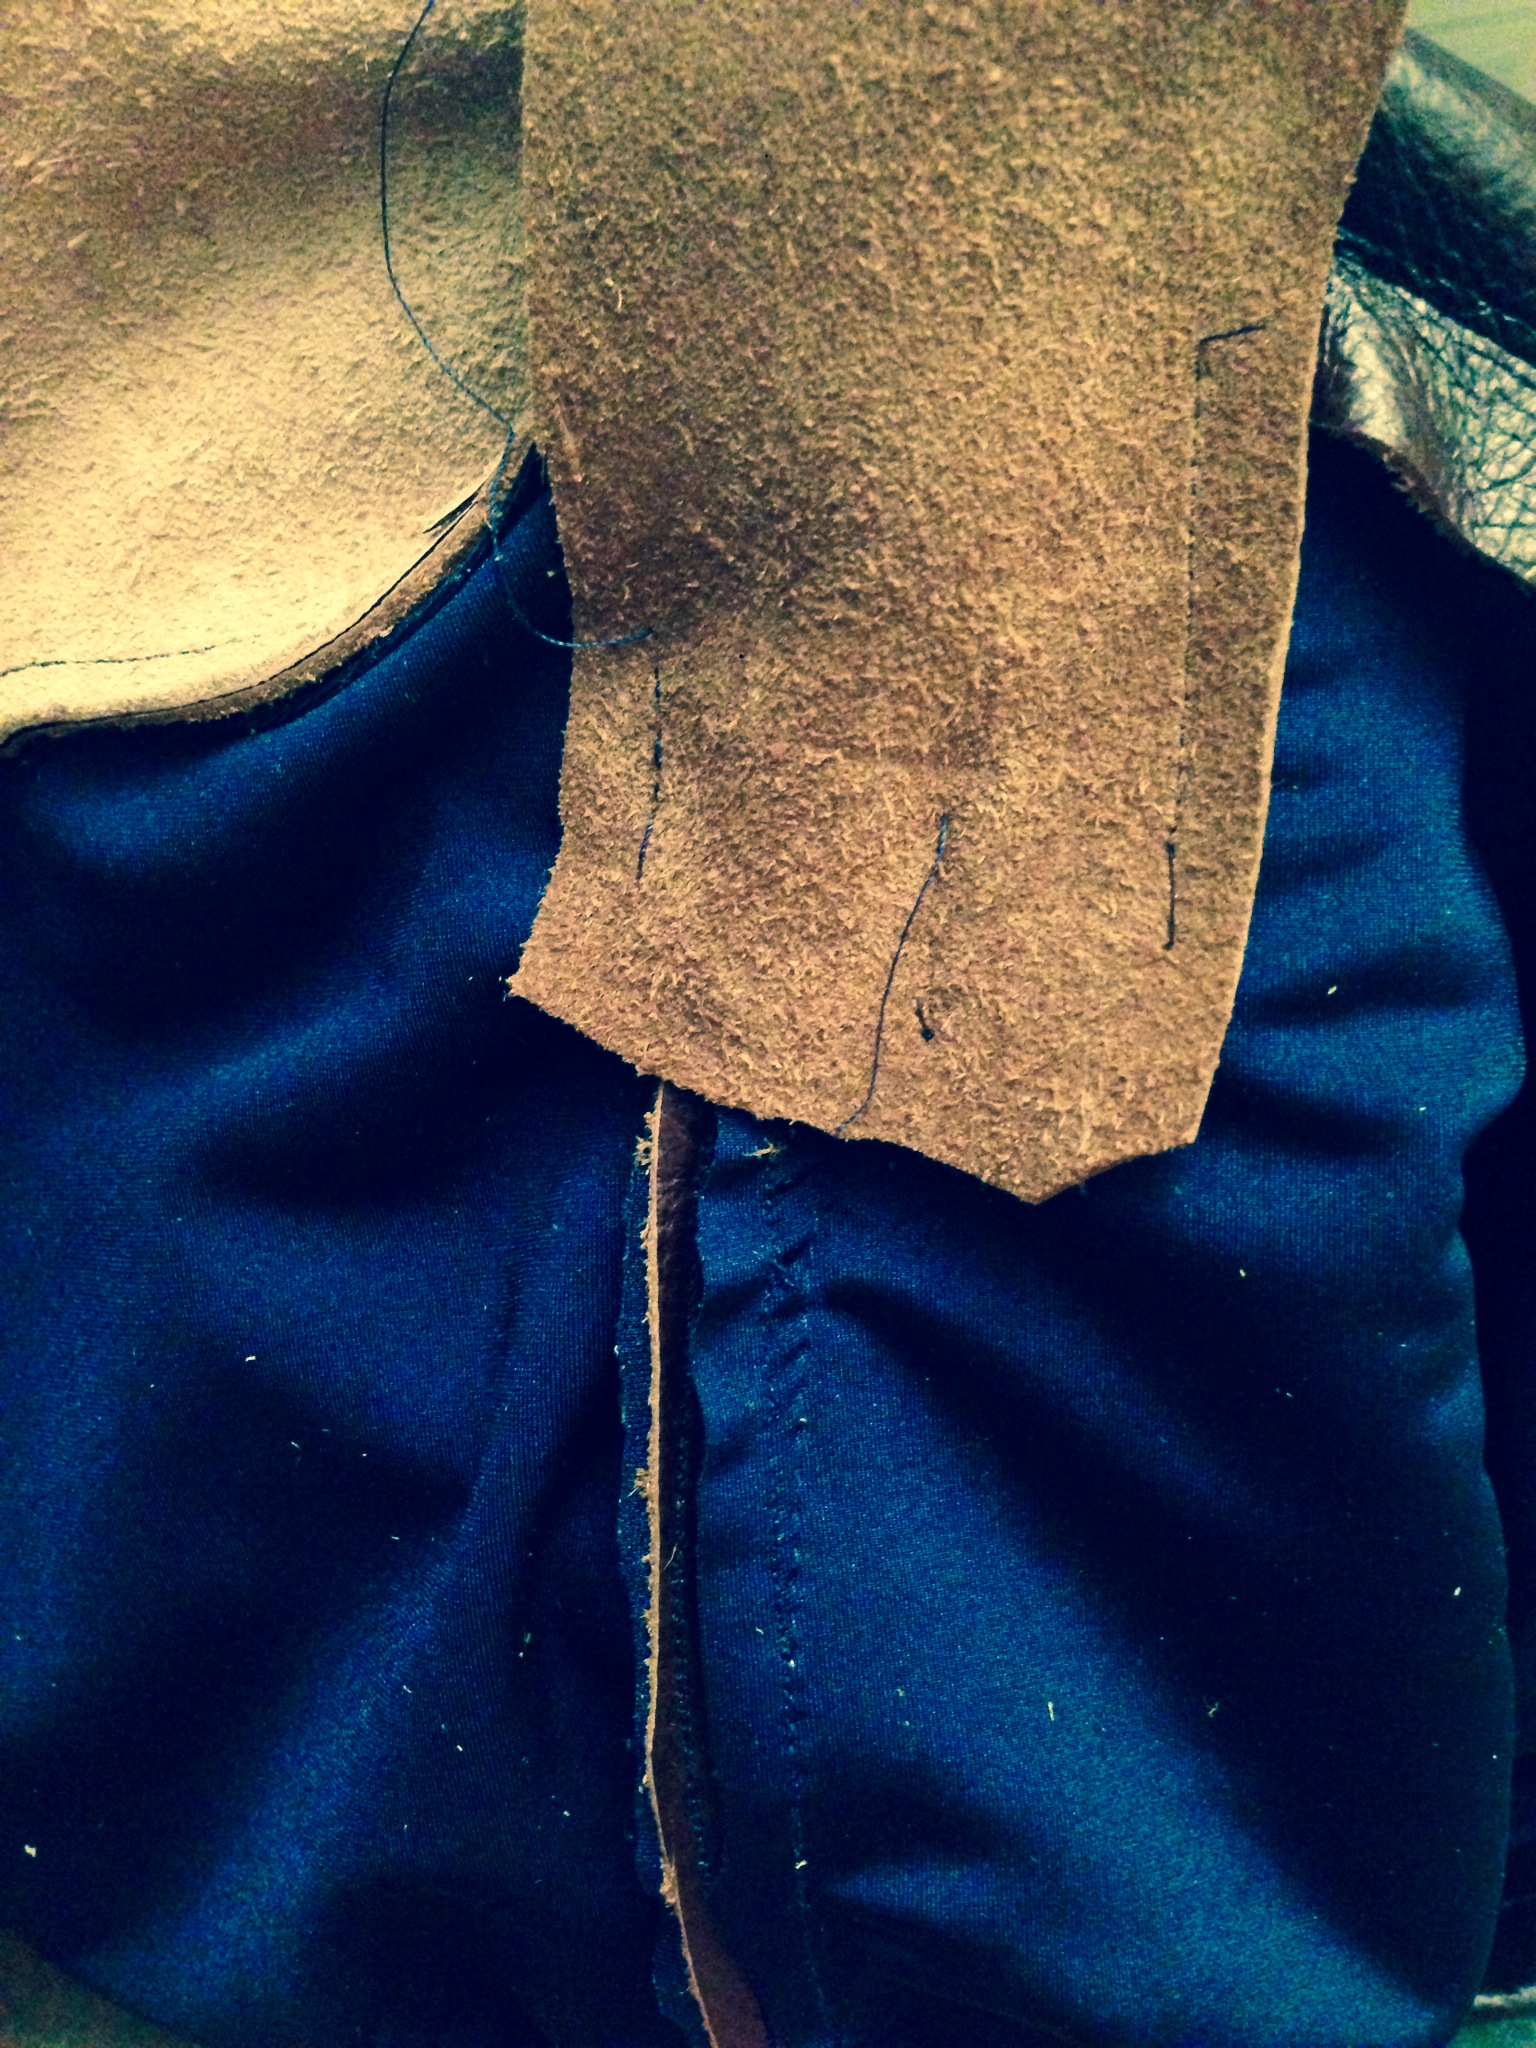
Step 1: Start by adding the lining to the pocket piece. I sewed it to have the embossed leather and lining have a fine finish rather have the sew patten shown. I did that for 3 of the four sides. I then flipped it right-side out and closed the last part by sewing on top. (I couldn’t figure out how to do all four sides as it is leather, so I decided to close the fourth side that way). Don’t forget to remove the excess lining fabric. 

 Step 2: Put the pocket piece aside. It is now time to work on the body of the purse. Start by lining the interior of the bag. For the lining, I sewed it so the thread patten was shown because it was going to be in the interior of the bag.
 Step 3: Once that’s done, enclose one side of the leather for the opening. Only one side because the other side will be attached to the embossed flap.

 Step 4: Now we want to attach the embossed flap to the body. I took the interior of both leather pieces and sewed it so that the exterior of the purse has a finished look. Be sure to cut off the excess material.
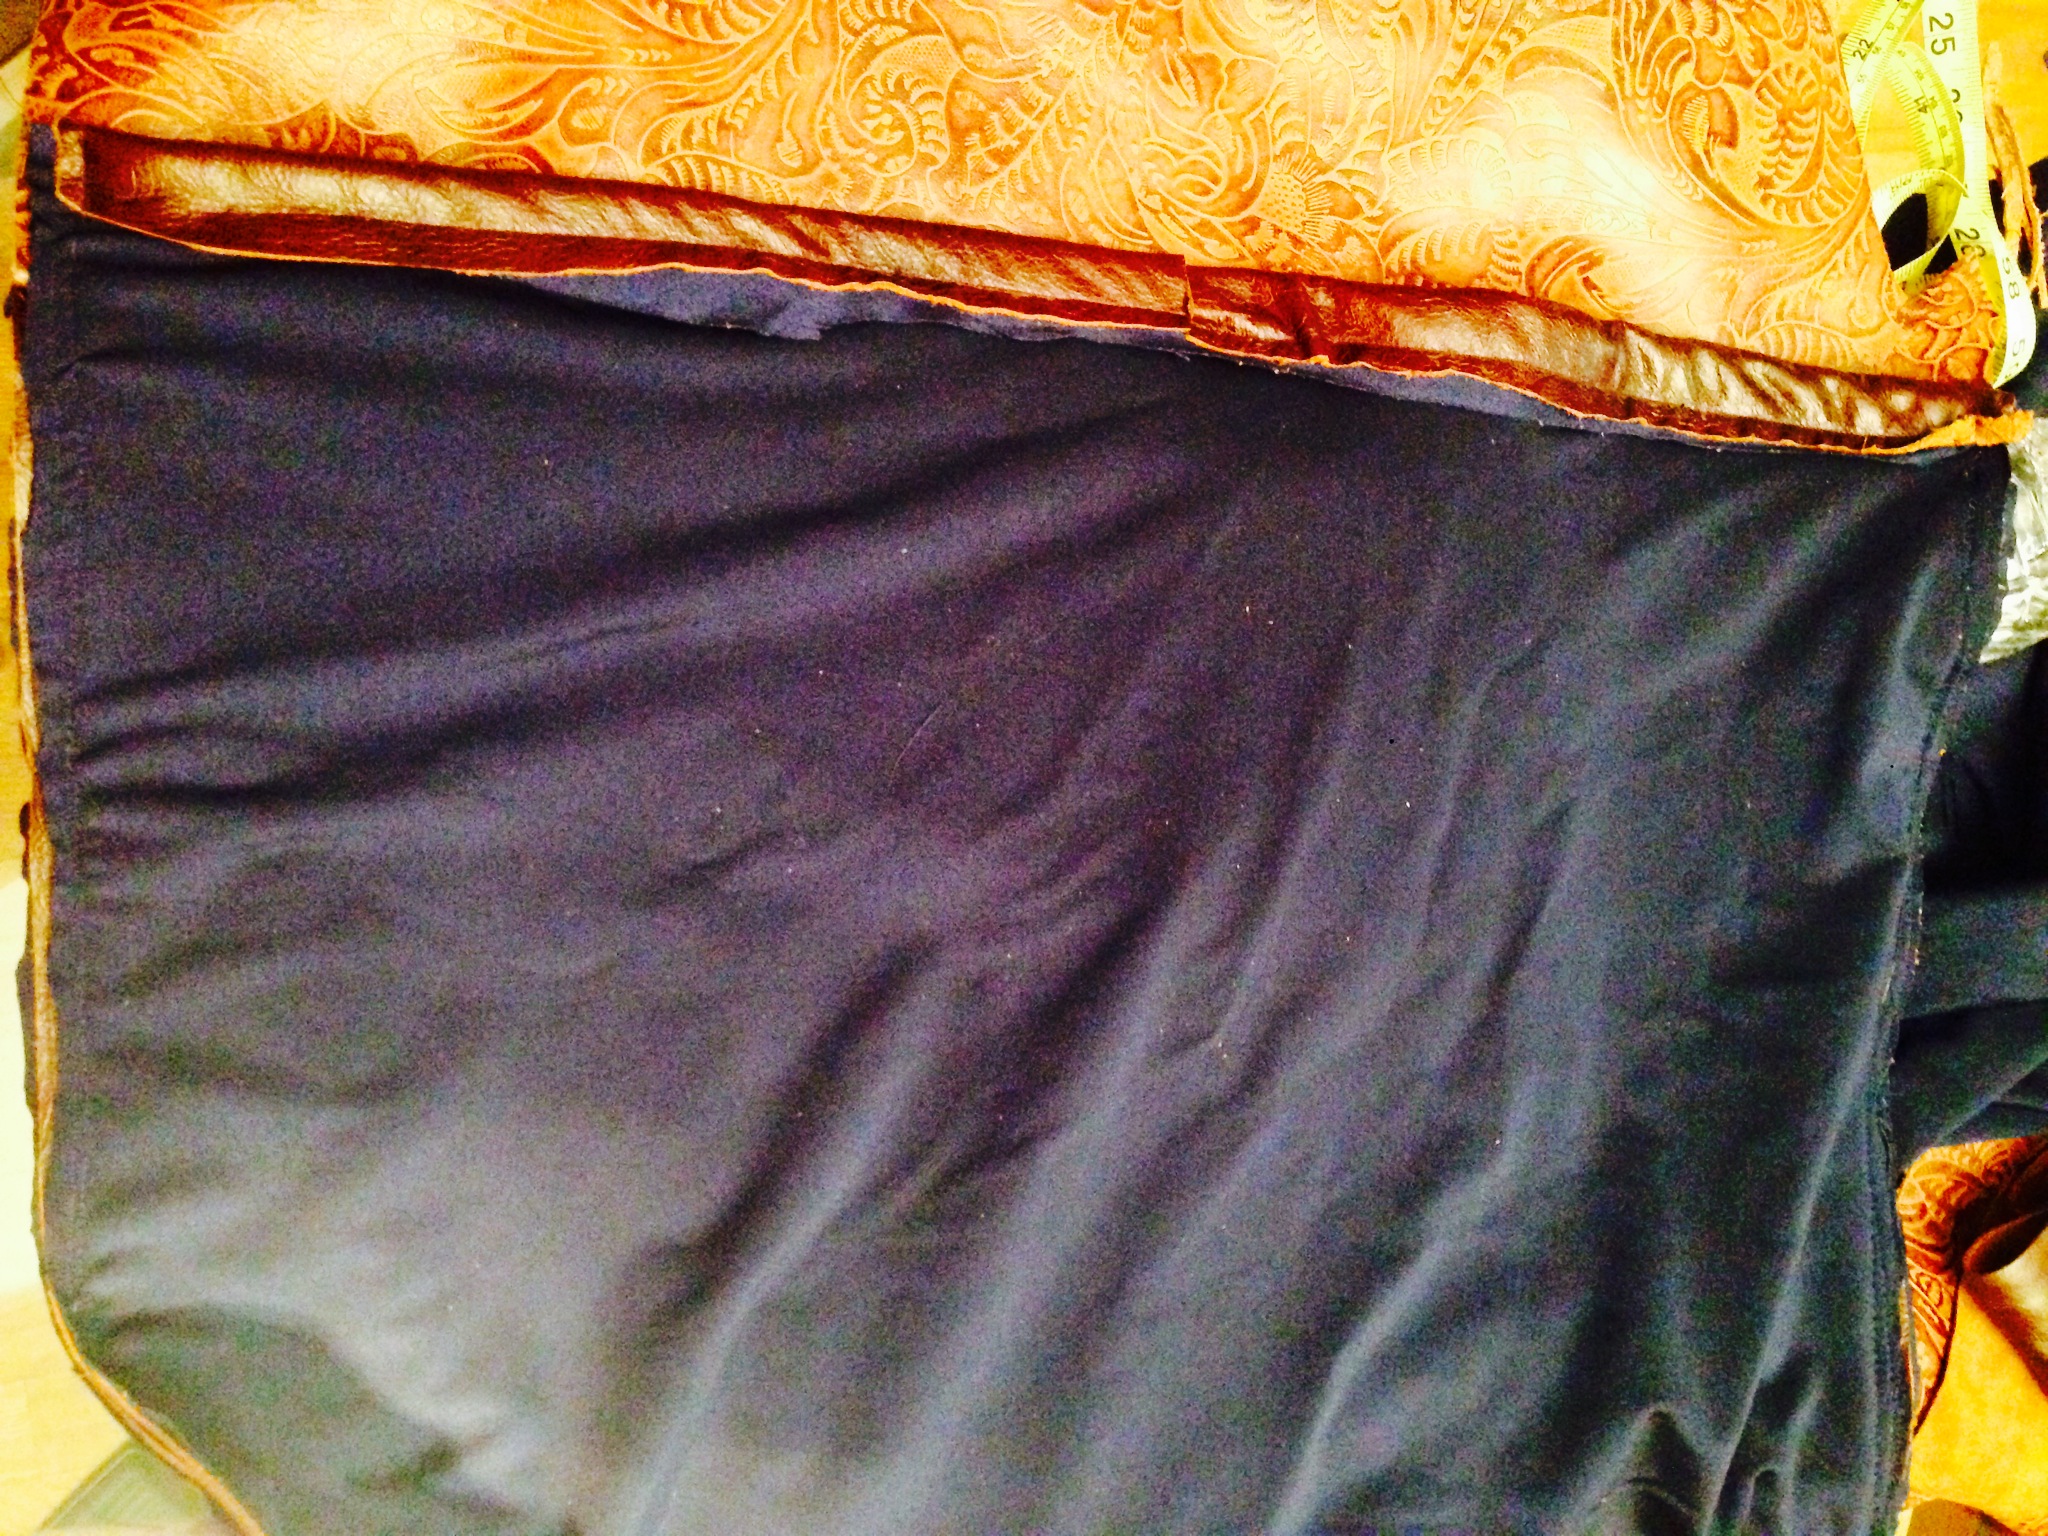
 Step 5: It should look like a very long piece of leather. Next is to sew the sides. I flipped it inside out and sewed it together to get the finished look. I also made sure that about 1 inch of the embossed flap was sewn along the sides of the bag.
  Step 6: After flipping it right side out, take the flap and finish it where it’s needed. I took it in at the longer end of the flap.
 Step 7: Next, I added the exterior pocket. I should’ve added this before I sewed up the sides, but you live and learn. I did sew it on top of the leather so accuracy was key as the thread pattern would be visible.
  Step 8: Last but not least, it’s time for the strap! Now that the body of the purse is done, it is all about the strap. Again, depending on wear you want the bag to fall, the length of your strap will differ. Add the straps by sewing it within the interior of the bag. My straps were too long so I folded the straps while centering the bag and sewed it down. It became a padding for my shoulder.
The final look is what I like to call #HoboChic. The navy interior accented the purse very well. The bag is big enough to carry my laptop, wallet, and toiletries. It could probably carry more. I am very happy with the way it came out! I hope yours comes out to your liking.